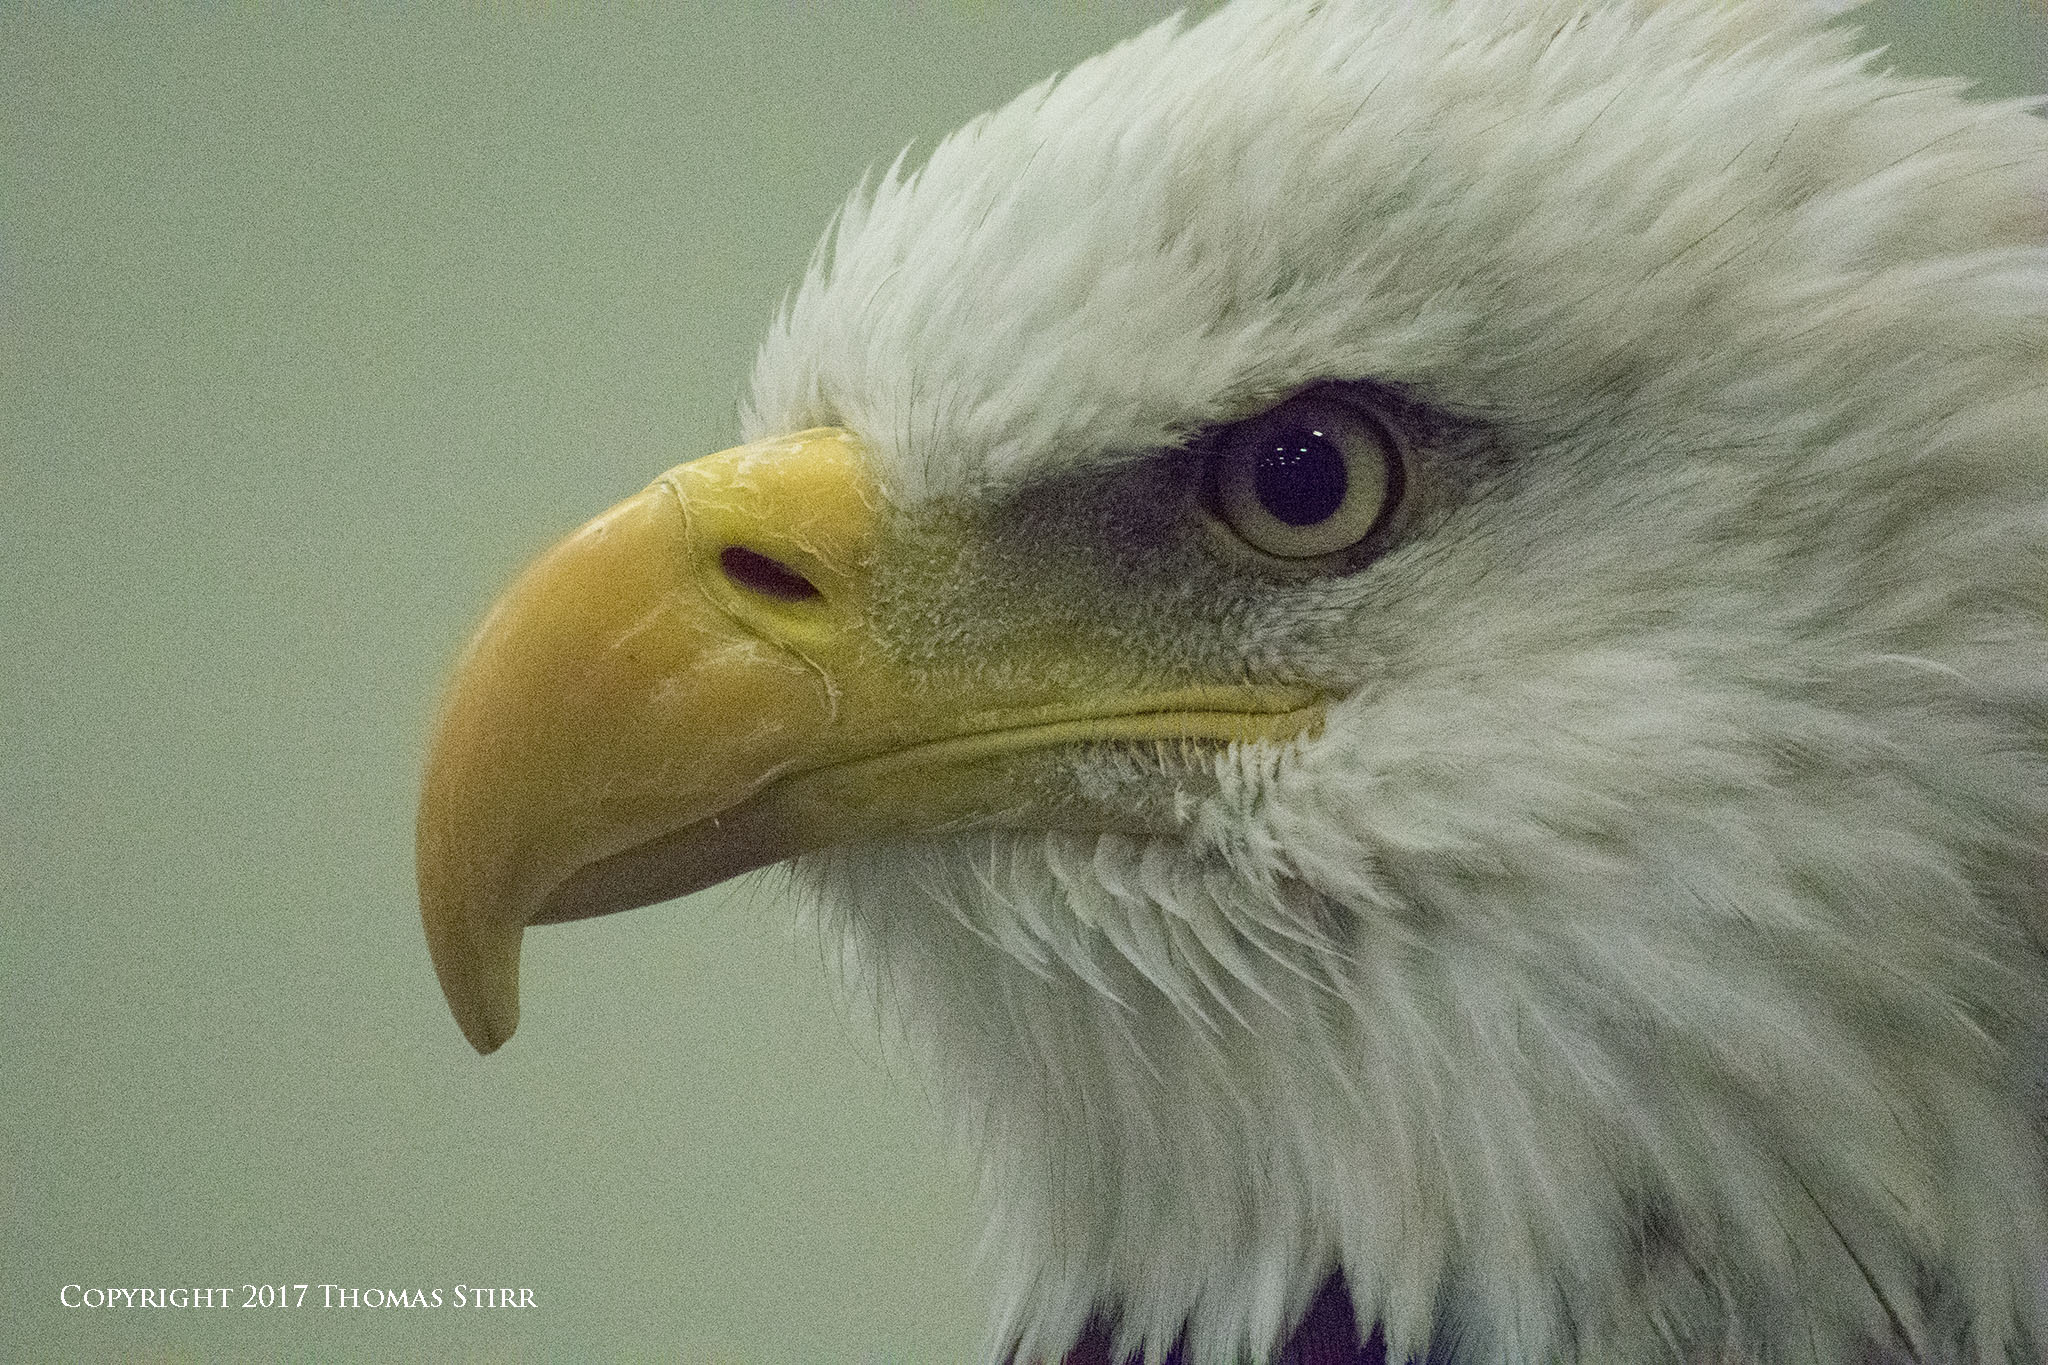
I had quite a few comments from Photography Life readers about my recent article Pushing a Small 1″ Sensor to ISO-12800. Some folks asked if they could see a comparison between the finished images in the article and the original RAW files (i.e. I opened up the RAW files in CS6 and made a jpeg out of them without making any adjustments in CS6). This short article shows the ISO-12800 comparison between the original RAW files and the finished files I used in the article.
Each image from the original article is shown as an original RAW file, then followed by a processed version of the image.
I hope providing these additional images made from the RAW files without any adjustments in post has been helpful.
My intent is to keep this photography blog advertising free. If you enjoyed this article and/or my website and would like to make a modest $10 donation through PayPal to support my work it would be most appreciated. You can use the Donate button below. Larger donations can be made to tom@tomstirr.com through PayPal.
Article and all images Copyright 2017 Thomas Stirr. All rights reserved. No use, duplication or adaptation of any kind is allowed without written consent. If you see this article reproduced anywhere else it is an unauthorized and illegal use. Posting comments on offending web sites and calling out individuals who steal intellectual property is always appreciated!
10 thoughts on “ISO-12800 Comparison”
All of these shots are both short shutter (fast shutter speeds) and fairly closed down apertures. I have found that pretty much any camera does much better high ISO under these conditions due to the usual light conditions that make it a good exposure with those parameters, thought still nice you can freeze subjects if they are fast.
To me the real test if you will, at least for street night life is how the camera would do under 1/125-1/200 at F2.0 (around), ISO 6400, 12800. And 1/30-1/40 F2.8 at those ISOs.
It’s much more stressful. I would say though with Dxo Optics Pro I was able to eek a reasonable ISO 6400 with the J5 with an action shot of a cyclist going by at night (maybe it was ISO 12800).
I strongly encourage a trial of DXo Optics Pro with the V3/J4/J5 at high ISO using the PRIME noise reduction engine. IT’s pretty amazing.
Hi Ricardo,
Thanks for the comment, observations, and suggestion – all are appreciated! I will put it in my hopper of ‘good things to do in the future’.
Tom
Do you know what is the interesting part of the “Exposure”? It is same thing across the same exposure value.
The point of the exposure ain’t how big the bucket is, it is how long it takes to get a specific amount of water in the bucket.
So someone walks to you and say “I want 5L milk to my can” and all you have is a 5dl and 2dl cups. So it will take 2.5 times longer to fill that 5L with 2dl cup than with a 5dl cup. But the point is that 5L is 5L regardless did you fill the can with either cups.
If there is 2x less light, then 2x longer exposure gives the same result as 2x shorter exposure in 2x more light.
But what is the real difference that comes to play? It is the noise ratio in time. A sensor generates X amount of noise in Y length of time. If you increase the Y*n then the sensor manages to generate X*n times more noise, regardless that the exposure is same via signal.
This is easy to observe by exposing sensor with body cap on for dark frame in various shutter speeds and seeing the generated noise. That is the addition for the exposure time you are using.
So while the exposure (signal) is same is it 1/125 or 1″ the generated noise by electronics can be far higher.
Then comes the final things like how much more the sensor size is enlarged in final image size. Meaning if FF is used to make a 20x30cm print, then with 1″ make a 2.7x smaller print 7.4×11.1cm print and now you have same results as cropping the 20×30 with scissors to 7.3×11.1cm size, except 1″ just made a wider field of view capture.
Need to add that seeing a 6400 ISO prints made from 1″ system (Nikon 1) that are printed in 60x40cm, they just look amazing when post processed by person who knows what they are doing, regardless are the shutter speeds 1/4000 or 5″.
The limitation of the image quality is in the user skills to do whole workflow, not just in camera setting or some sensor size or scenery.
Ricardo, doing a 30-day trial of DxO Pro 11 with Prime and Clearview features. Pulled in some old V1 & V2 photos and have to agree it’s pretty remarkable. Now need faster computer! That’s some heavy duty processing going on the in the background.
I’m exporting to LR6 and curious which adjustments you each find better done in DxO vs. LR/CS6?
Since Nikon 1 files are challenged in terms of dynamic range I typically ‘double bump’ the highlights by using an initial adjustment in OpticsPro, then fine tune it in CS6. I find that going much past -20 in OpticsPro becomes too aggressive for my taste. I find the same thing with shadow adjustments, and on occasion do adjustments in both programs, although I most often use CS6. One of the functions in OpticsPro 11 that I use all the time is the Spot Weighted DxO Smart Lighting tool. This is very helpful to improve the overall dynamic range balance of an image before exporting a DNG file into CS6. When ‘curves’ need to be adjusted I will do that in CS6 rather than OpticsPro. I never do any sharpening in CS6. Depending on the Nikon 1 camera used (e.g. V2 or V3) I’ll use Lens Softness tool in OpticsPro, and perhaps some micro-contrast in that program. J5 files are a bit of a different animal and I only use micro-contrast with them.
I use OpticsPro for most perspective control adjustments. I do use DxO ViewPoint from time to time.
I have a number of custom presets that I created in OpticsPro 11 that I use with every Nikon 1 image. They are camera, subject matter, and sometimes lighting specific. When I can set aside more time I will certainly be adding a lot more of them as I find clicking once on a custom preset saves me a ton of time in post.
Your insights and advice are appreciated Tom! Currently using DxO 11 as plug in for Lightroom. Also have the Nik collection but it’s in PS Elements. Will have to check if Nik is available as plug in for LR. It may already be there and I just don’t know where to look!
This website celebrates the joy of photography and features a wide range of photographic subject matter. The content is designed to appeal to a wide range of people interested in photography. The website also demonstrates the image creating capability of small sensor cameras including micro four thirds, 1", and 1/2.3" cameras.
You cannot copy content of this page
We use cookies to ensure that we give you the best experience on our website. Your email address or any other information you provide as your subscription to the website is never sold to any other party. Your email address is used to send out notifications on new articles. If you continue to use this site we will assume that you are happy with it.OkPrivacy policy


All of these shots are both short shutter (fast shutter speeds) and fairly closed down apertures. I have found that pretty much any camera does much better high ISO under these conditions due to the usual light conditions that make it a good exposure with those parameters, thought still nice you can freeze subjects if they are fast.
To me the real test if you will, at least for street night life is how the camera would do under 1/125-1/200 at F2.0 (around), ISO 6400, 12800. And 1/30-1/40 F2.8 at those ISOs.
It’s much more stressful. I would say though with Dxo Optics Pro I was able to eek a reasonable ISO 6400 with the J5 with an action shot of a cyclist going by at night (maybe it was ISO 12800).
I strongly encourage a trial of DXo Optics Pro with the V3/J4/J5 at high ISO using the PRIME noise reduction engine. IT’s pretty amazing.
Hi Ricardo,
Thanks for the comment, observations, and suggestion – all are appreciated! I will put it in my hopper of ‘good things to do in the future’.
Tom
Do you know what is the interesting part of the “Exposure”? It is same thing across the same exposure value.
The point of the exposure ain’t how big the bucket is, it is how long it takes to get a specific amount of water in the bucket.
So someone walks to you and say “I want 5L milk to my can” and all you have is a 5dl and 2dl cups. So it will take 2.5 times longer to fill that 5L with 2dl cup than with a 5dl cup. But the point is that 5L is 5L regardless did you fill the can with either cups.
If there is 2x less light, then 2x longer exposure gives the same result as 2x shorter exposure in 2x more light.
But what is the real difference that comes to play? It is the noise ratio in time. A sensor generates X amount of noise in Y length of time. If you increase the Y*n then the sensor manages to generate X*n times more noise, regardless that the exposure is same via signal.
This is easy to observe by exposing sensor with body cap on for dark frame in various shutter speeds and seeing the generated noise. That is the addition for the exposure time you are using.
So while the exposure (signal) is same is it 1/125 or 1″ the generated noise by electronics can be far higher.
Then comes the final things like how much more the sensor size is enlarged in final image size. Meaning if FF is used to make a 20x30cm print, then with 1″ make a 2.7x smaller print 7.4×11.1cm print and now you have same results as cropping the 20×30 with scissors to 7.3×11.1cm size, except 1″ just made a wider field of view capture.
Need to add that seeing a 6400 ISO prints made from 1″ system (Nikon 1) that are printed in 60x40cm, they just look amazing when post processed by person who knows what they are doing, regardless are the shutter speeds 1/4000 or 5″.
The limitation of the image quality is in the user skills to do whole workflow, not just in camera setting or some sensor size or scenery.
Ricardo, doing a 30-day trial of DxO Pro 11 with Prime and Clearview features. Pulled in some old V1 & V2 photos and have to agree it’s pretty remarkable. Now need faster computer! That’s some heavy duty processing going on the in the background.
I’m exporting to LR6 and curious which adjustments you each find better done in DxO vs. LR/CS6?
Hi Kevin,
Since Nikon 1 files are challenged in terms of dynamic range I typically ‘double bump’ the highlights by using an initial adjustment in OpticsPro, then fine tune it in CS6. I find that going much past -20 in OpticsPro becomes too aggressive for my taste. I find the same thing with shadow adjustments, and on occasion do adjustments in both programs, although I most often use CS6. One of the functions in OpticsPro 11 that I use all the time is the Spot Weighted DxO Smart Lighting tool. This is very helpful to improve the overall dynamic range balance of an image before exporting a DNG file into CS6. When ‘curves’ need to be adjusted I will do that in CS6 rather than OpticsPro. I never do any sharpening in CS6. Depending on the Nikon 1 camera used (e.g. V2 or V3) I’ll use Lens Softness tool in OpticsPro, and perhaps some micro-contrast in that program. J5 files are a bit of a different animal and I only use micro-contrast with them.
I use OpticsPro for most perspective control adjustments. I do use DxO ViewPoint from time to time.
I have a number of custom presets that I created in OpticsPro 11 that I use with every Nikon 1 image. They are camera, subject matter, and sometimes lighting specific. When I can set aside more time I will certainly be adding a lot more of them as I find clicking once on a custom preset saves me a ton of time in post.
Tom
Your insights and advice are appreciated Tom! Currently using DxO 11 as plug in for Lightroom. Also have the Nik collection but it’s in PS Elements. Will have to check if Nik is available as plug in for LR. It may already be there and I just don’t know where to look!
I’m glad to be of assistance Kevin!
Tom
That’s it! From now on I will send all my high ISO pics to you to process. You just have a magic touch in post.
WEJ
LOL…thanks for the vote of confidence William!
Tom