

On the morning of our last day in New Zealand my wife and I decided to visit the Christchurch Botanic Gardens. While in the New Zealand Gardens section, I had the opportunity to photograph a small group of New Zealand fantails.
NOTE: Click on images to enlarge.
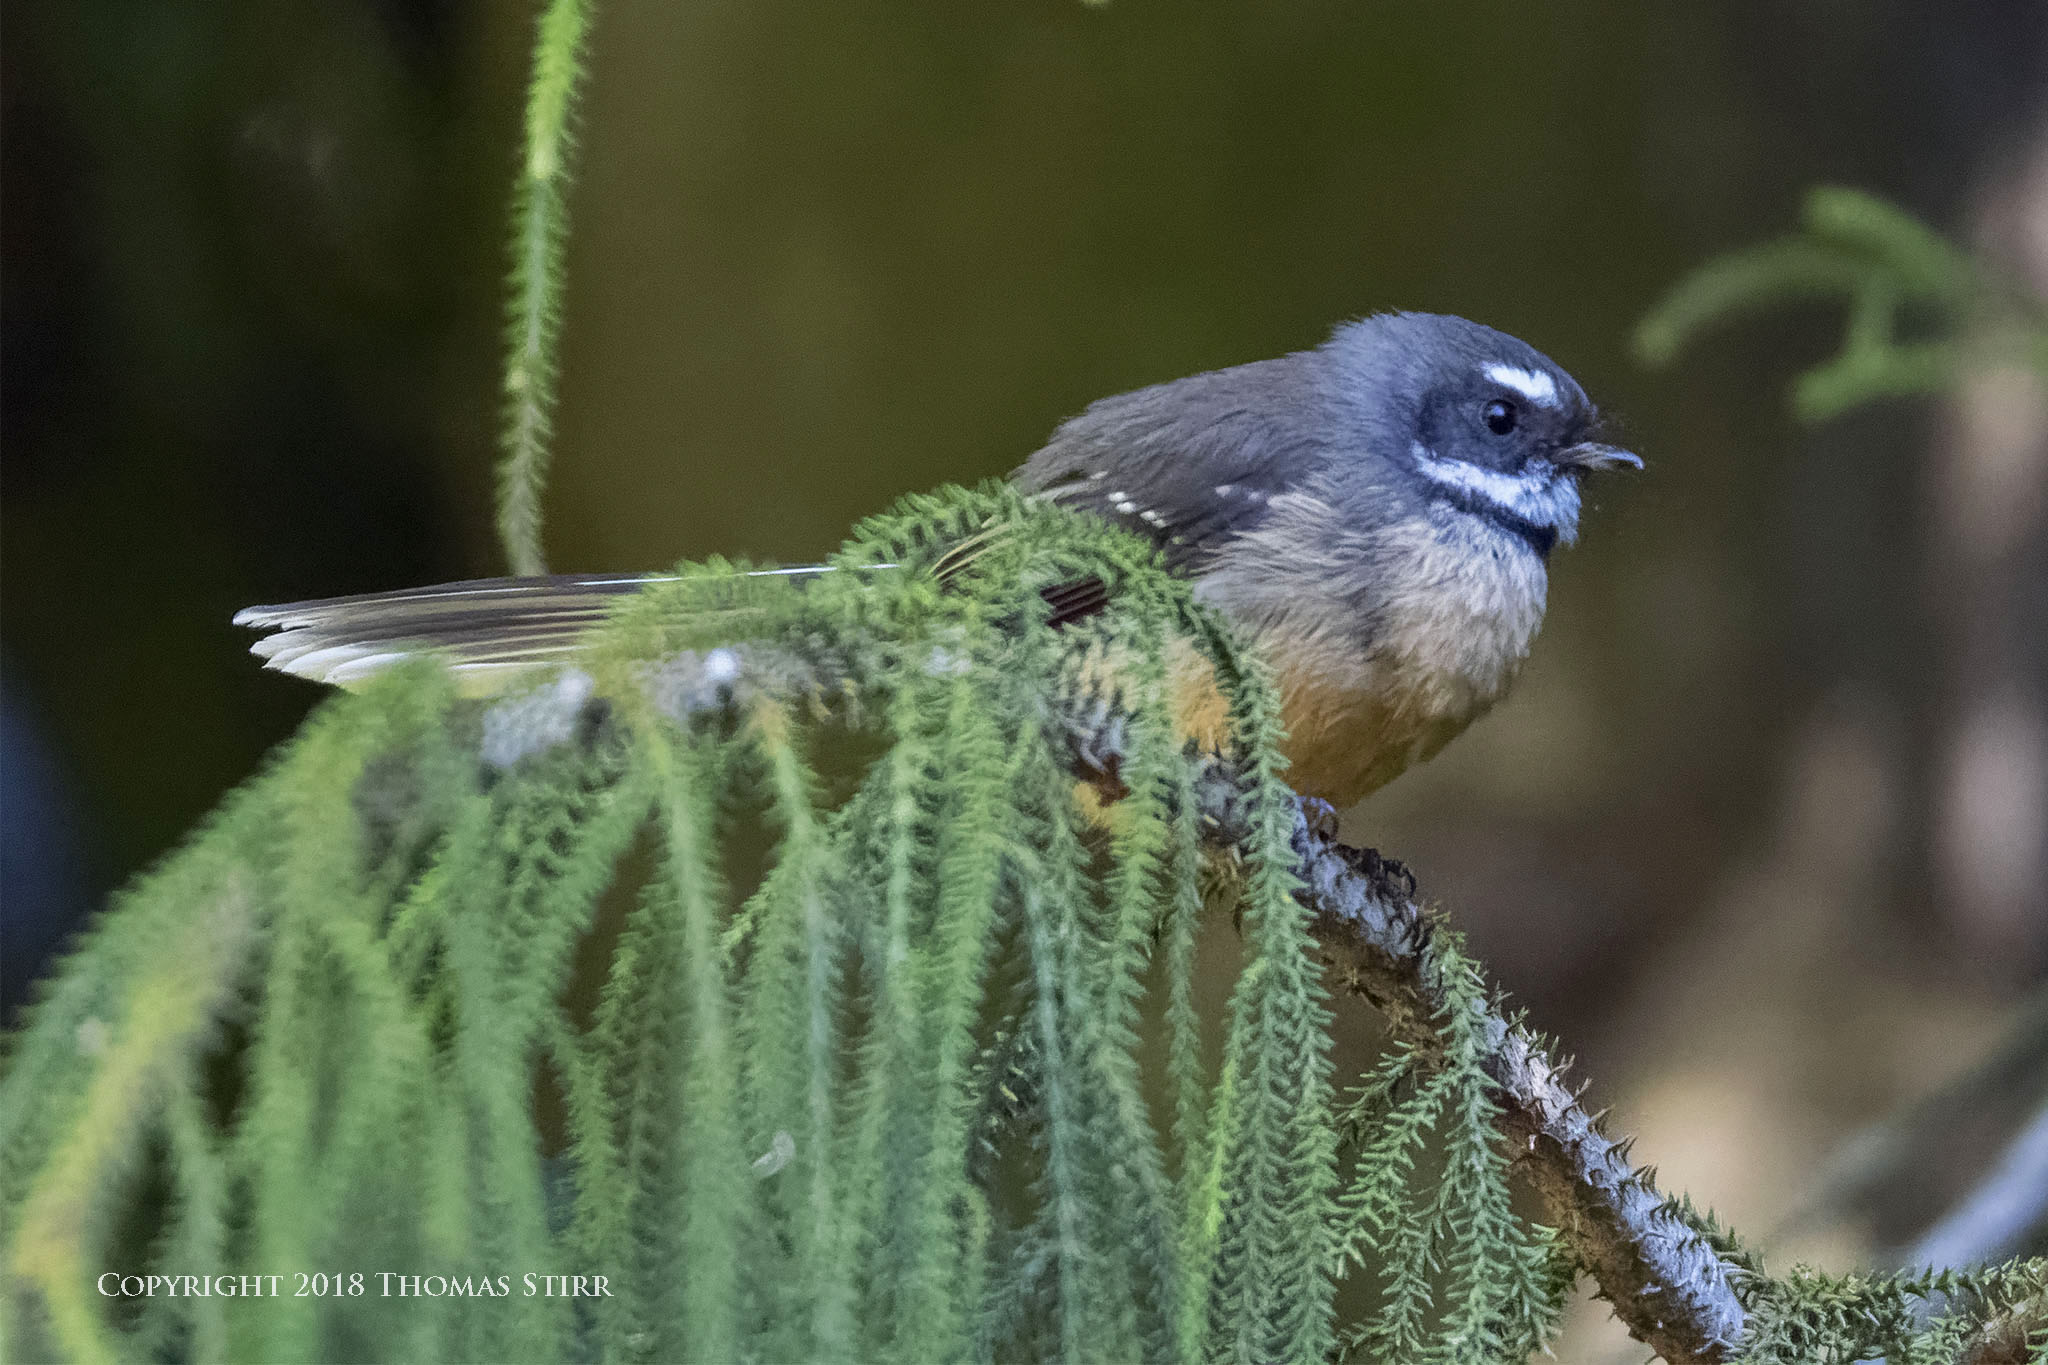
The New Zealand fantail is one of the country’s best known birds. I had seen a few specimen in dark wooded areas earlier during our travels, but had been unable to capture any usable photographs of these erratic flyers.

While they individually stayed for only a couple of seconds, I noticed that the birds were frequently landing in a specific area. I captured a number of test images, quickly determining that I would need to shoot at ISO-6400, f/5.6, and with a shutter speed of 1/400 in order to get a reasonable exposure.

This precluded any attempt to capture images of the fantails in flight as the shutter speed was far too slow. I also knew that at ISO-6400 I was pushing the boundaries of my Nikon 1 V3’s 1″ CX sensor performance in terms of image quality. The photographs in this article would be considered marginal at best, but at least I was able to get some images of the fantails.

I knew that not only would the images be noisy, but I would also lose a large degree of the sensor’s already challenged dynamic range and colour depth. At base ISO the Nikon 1 V3’s sensor has 10.7 EV of dynamic range and 20.8-bits of colour depth. At ISO-6400 these fall to only 6.4 EV of dynamic range and 10.9-bits of colour depth.

To try to compensate for the shooting conditions and resulting poor image quality, I used the PRIME noise reduction function in DxO PhotoLab. I also bumped the yellows by +15, and the reds by +25 in CS6 to try to bring back some of the breast colour of the fantails.
I also added some micro-contrast in PhotoLab, a bit of clarity in CS6 and even some structure in Viveza 2, one of the programs in the Nik Collection. I kept all of these adjustments to very modest levels, hoping that the combination would enable me to get some details back in the images.

While the overall results were not stellar given the original shooting conditions, I was happy that I got a few usable images that I could share with readers.
Technical Note:
All photographs were captured hand-held in available light using Nikon 1 gear as per the EXIF data. All images were produced from RAW files using my standard process of DxO PhotoLab, CS6 and the Nik Collection.
If you enjoyed this article you may want to have a look at New Zealand Tip-to-Tip. This 250 page eBook features 89 locations in New Zealand and over 400 original photographs. You can use the link to see more detailed information about the eBook. The cost of New Zealand Tip-to-Tip is $12.99 Canadian.

My intent is to keep this photography blog advertising free. If you enjoyed this article and/or my website and would like to support my work you can purchase an eBook, or make a modest $10 donation through PayPal, both are most appreciated. You can use the Donate button below. Larger donations can be made to tom@tomstirr.com through PayPal.
Article and images are Copyright 2018 Thomas Stirr. All rights reserved. No use, duplication or adaptation of any kind is allowed without written consent. If you see this article reproduced anywhere else it is an unauthorized and illegal use. Posting comments on offending web sites and calling out individuals who steal intellectual property is always appreciated!
Hi Tom,
‘Tis most interesting to read about the “tweaks” you applied to rescue detail in your images – Thank you for the tips.
Question: How different is the result achieved using the “structure” setting in Viveza from PhotoLab’s MicroContrast and/or ClearView settings?
Regards, John M
Hi John,
I think a lot of this depends on how each of us ‘see’ our images and which programs that we prefer to use in post. Some folks like to do all of their adjustments with one program, while others like to use a combination approach. One approach is not better than another, just different.
ClearView appears to make a number of adjustments concurrently and I find it a bit tricky to use in terms of getting the look I desire. As a result ClearView is an adjustment that I typically only use when dealing with haze or fog in a photograph so it is not a tool that I use very often. DxO recommends that ClearView be used after standard auto corrections have been done, but BEFORE applying contrast, micro-contrast, vibrancy and saturation. ClearView can also make an image appear more granular in the uniformly-coloured parts of a photograph. Small imperfections in images, like dust specs, can also become much more noticeable when using ClearView. In short, ClearView can be effective when used with some specific images, but may cause more work in post when used with other images.
I suppose each of us has our own approach when dealing with the ‘sharpness’ of our images. Sharpness is defined as the the acuity, or contrast, between the edges of an object. A well defined edge that makes an abrupt transition from one colour or shade, thus providing good definition to an object, is thought of as sharp.
My approach is to consider similar functions in the three programs I use in post as complimentary rather than competing ones. Which ones I use, and the degree to which I use them, depends on the photograph (i.e. subject matter and camera/lens specific). For example, I apply micro-contrast (PhotoLab/OpticsPro) to most of my images as I like how it helps edge definition with fine details. The amount of micro-contrast used will depend on the camera/lens combination used to capture a photograph. For example, images shot with the 1 Nikon 10-100mm f/4-5.6 will need more micro-contrast than those shot with the 32mm f/1.2 or the CX 70-300mm f/4.5-5.6.
I almost never use the Lens Sharpness function in Photo Lab/OpticsPro with J5 or V3 files, but often use it when shooting with the V2 since that camera has a low pass filter. This can be subject matter specific as well. I use Lens Sharpness more often with V2 bird images than I would with landscape photographs.
The Clarity function in CS6 is something that I use from time to time, usually with bird images as I find it can help feather detail in mid-tone areas. I don’t like how Clarity impacts landscape photos so I typically avoid using it for that subject matter.
“Structure” in Viveza 2 tends to be one of the final adjustments that I may make with an image. When I use ‘structure’ I do so in moderation and apply it to provide a hint of additional definition. I frequently use modest amounts of both micro-contrast and structure with my images.
I guess I don’t see MicroContrast, Clarity, and Lens Sharpness as being mutually exclusive adjustments, but rather potentially complimentary ones. I hope this has helped…
Tom
Thank you for the detailed reply, Tom.
From my point of view; I’d like to be able to do most/all of my adjustments from within the minimum number of applications … ideally, only one.
With DxO’s acquisition of the Nik Collection, I reckon we can look forward to some significant enhancements to PhotoLab’s capabilities.
Regards, John
Hi John,
It will be interesting to see what DxO does with the Nik Collection.
Tom
Hi Thomas have been following your blog and your journeys with the Nikon 1 series. I totally love my V3 it is awesome and so are the photos.
Thanks for the new insights and possibilities you have provided.
Shirish
You’re most welcome Shirish – I’m glad the article was helpful for you!
Tom
Fine images! I have the same experience with my V3 and 70-300, amazing results for a 1″ sensor. Still love my V1 and V2 also. Thanks for sharing this article and photos.
Thanks for the comment Vern – I’m glad you enjoyed the images and article!
Tom