Most people who enjoy taking images of birds will attest to the fact that it can be especially challenging to photograph hummingbirds. These little ‘pocket rockets’ dart around constantly and very seldom stay in one place long enough for us to find them in our viewfinders, let alone actually get an image. If you’re like me even being able to capture a decent image of a hummingbird on a feeder with its wings spread is an uncommon feat.
NOTE: Click on images to enlarge.

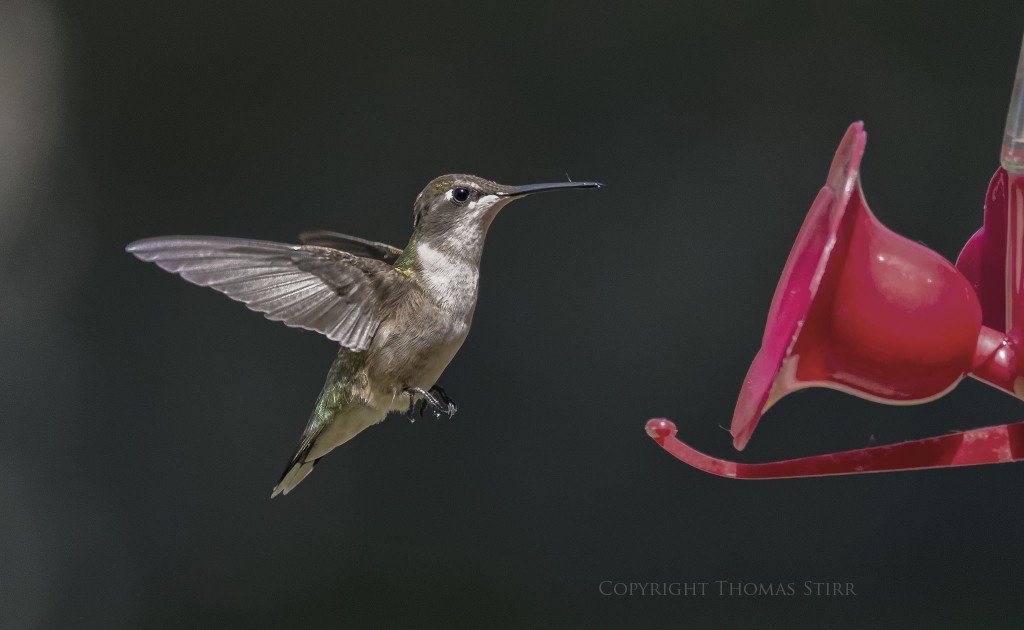
I have always been intrigued with hummingbirds and really wanted to be able to capture images of these unique birds in flight – but without the hassle of using complicated flash set-ups, or even the use of a tripod or monopod. This article shares some simple techniques I used to capture a number of images of hummingbirds in flight shooting hand-held.
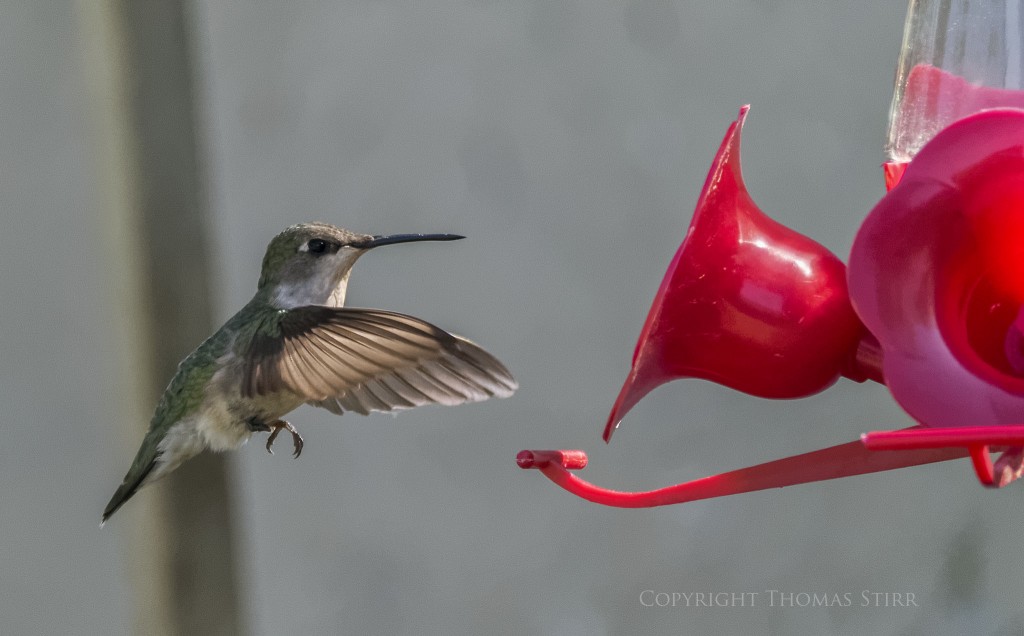
None of the images in this article would be considered ‘award winners’ by any stretch of the imagination, but they do represent results that I believe a lot of folks can achieve using very simple gear and technique.
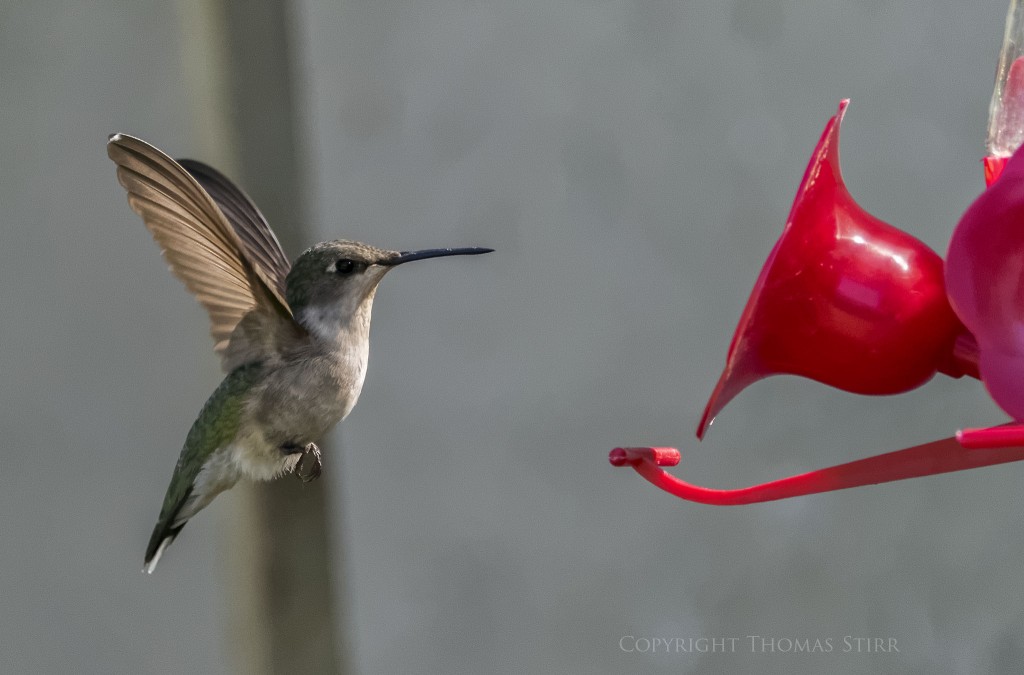
The first challenge of course is to find a location that has a good population of hummingbirds. To get the images for this article I went to Ruthven Park in Cayuga Ontario. There is a bird-banding cabin on site that has a few hummingbird feeders and appropriate plants to attract hummingbirds.
Regardless of where you live patience is required to photograph these little critters so bring a lawn chair or find a comfortable place to sit close to a busy hummingbird feeder.
Shutter Speed
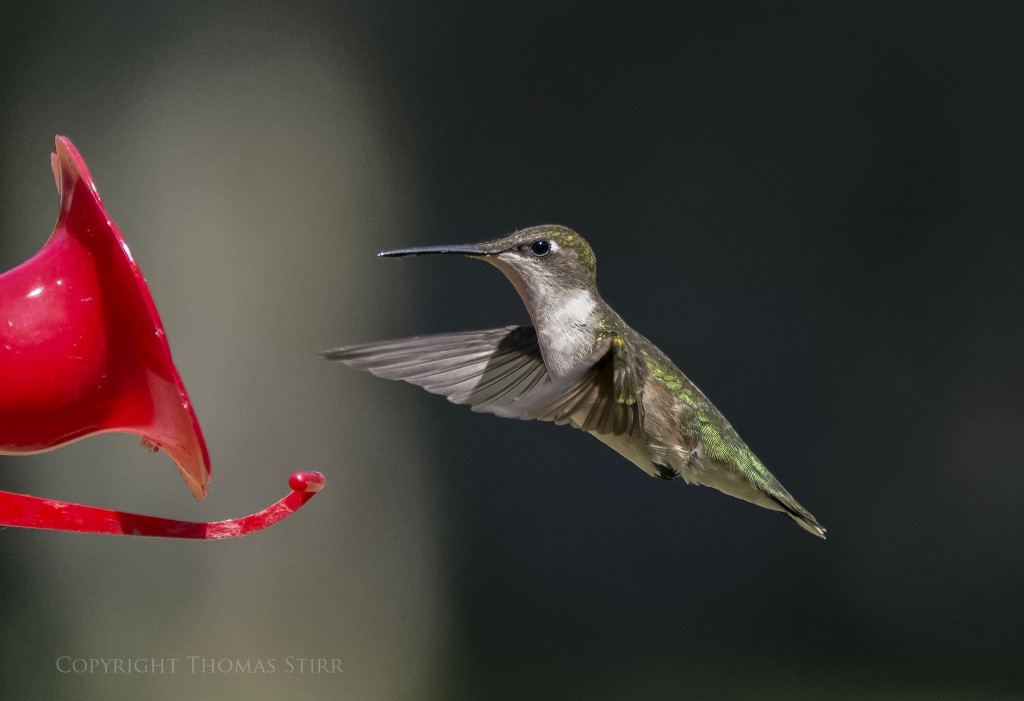
To have any chance to even partially freeze the wing movement on a hummingbird you’ll need to use a fast shutter speed. The slowest shutter speed I used was 1/2500 and many of the images in this article were shot at 1/4000. I’d suggest using manual settings on your camera so you can control both shutter speed and aperture. To get the proper exposure use auto-ISO.
Lens and distance from subject
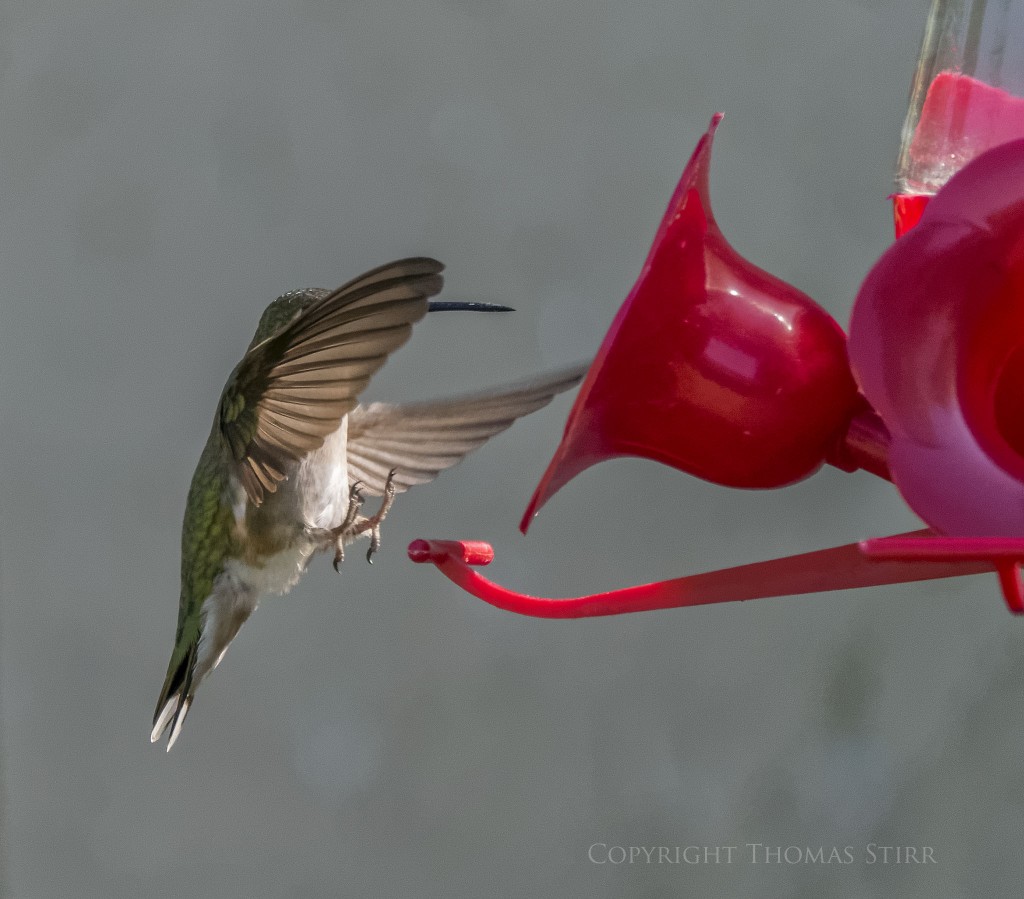
I used my Nikon 1 CX 70-300 f/4.5-5.6 lens mounted on one of my Nikon 1 V2’s to take all of the images in this article. That set-up gave me an equivalent field-of-view of 810 mm and allowed me to photograph the hummingbirds from a distance of about 3.5 metres (11.5 feet). This allowed me to capture them at a reasonable size to help avoid really aggressive cropping in post. I found that if I got any closer the hummingbirds would either stop coming to the feeder, or they would choose to sip nectar from the opposite side and thus block my view. I’d suggest using the longest focal length lens you have and get in as close as the birds will allow.
Auto-focus setting
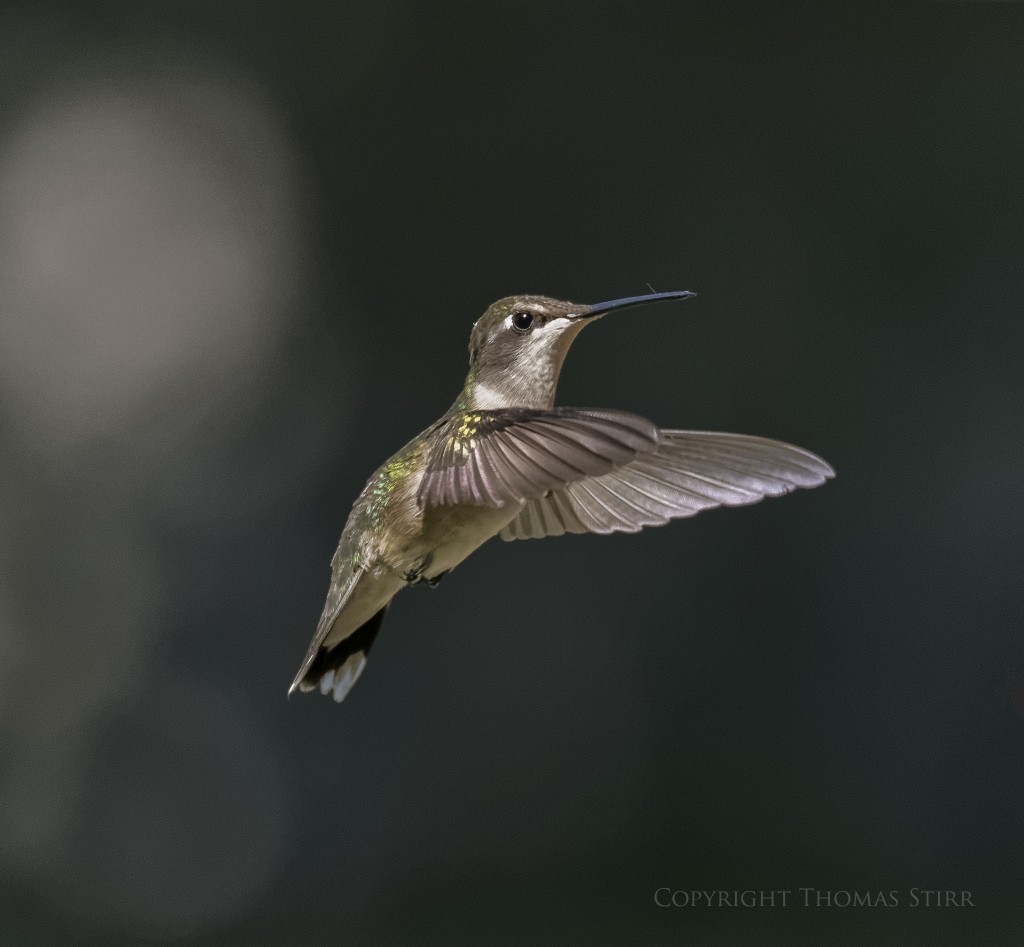
You will only have a split second to capture your images so its important to use AF-C with subject tracking on your camera, and shoot at a fast frame rate. I used 15 fps in AF-C with my Nikon 1 V2.
Shoot hand-held
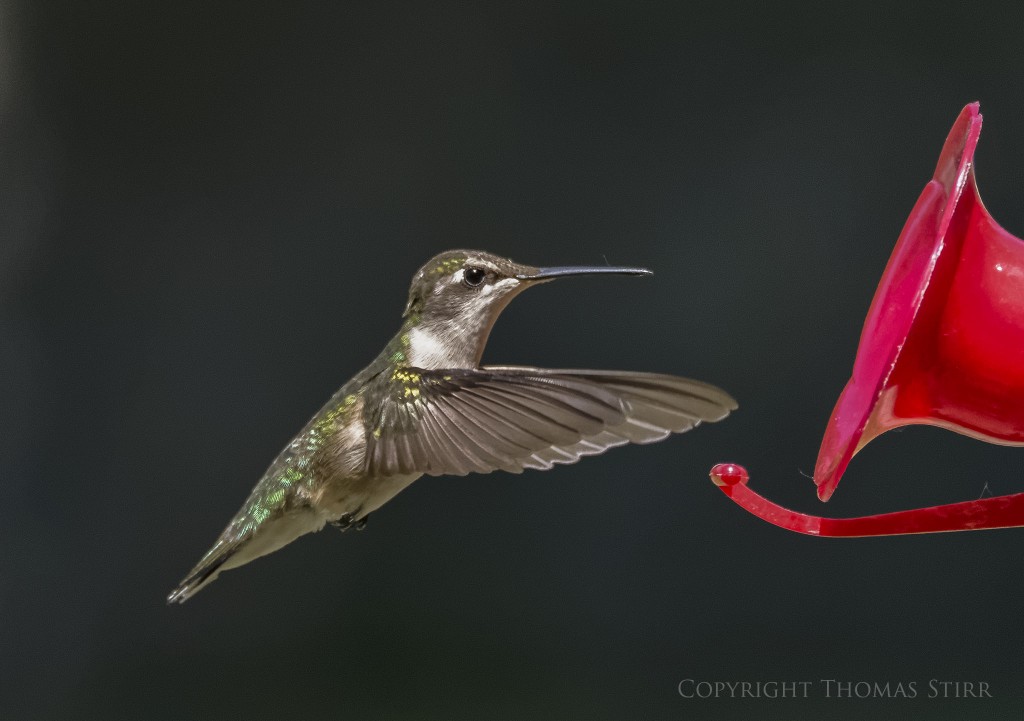
Capturing a hummingbird in flight requires split second timing and its my view that using a tripod will slow you down and result in missed shots. (NOTE: some photographers who use larger, heavier gear may find using a monopod beneficial)
Anticipate where the hummingbird will hover before landing
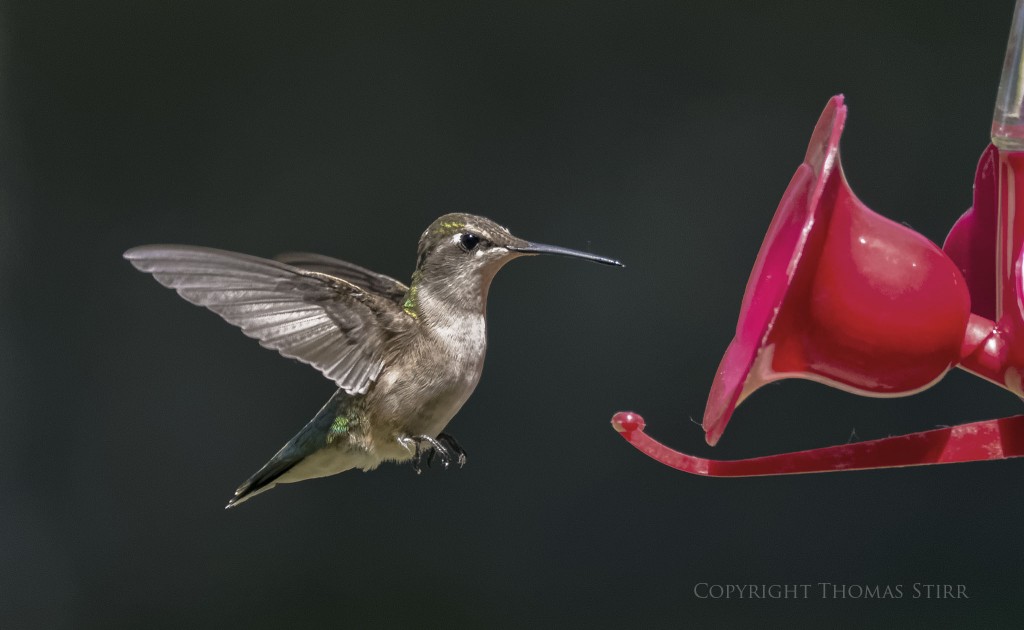
Hummingbirds tend to hover for a split second before they land on a feeder. This varies by individual bird but I found that this hovering distance was about 6 to 12 inches (15 to 30 cm) away from the perch on the feeder. To have the best chance to capture a hummingbird in flight I found that pre-focusing my lens on the perch of the feeder, then aiming it at the ‘dead spot’ where I thought the hummingbird would hover, allowed me to capture the most number of decent images.
Use ‘both eyes open’ shooting technique
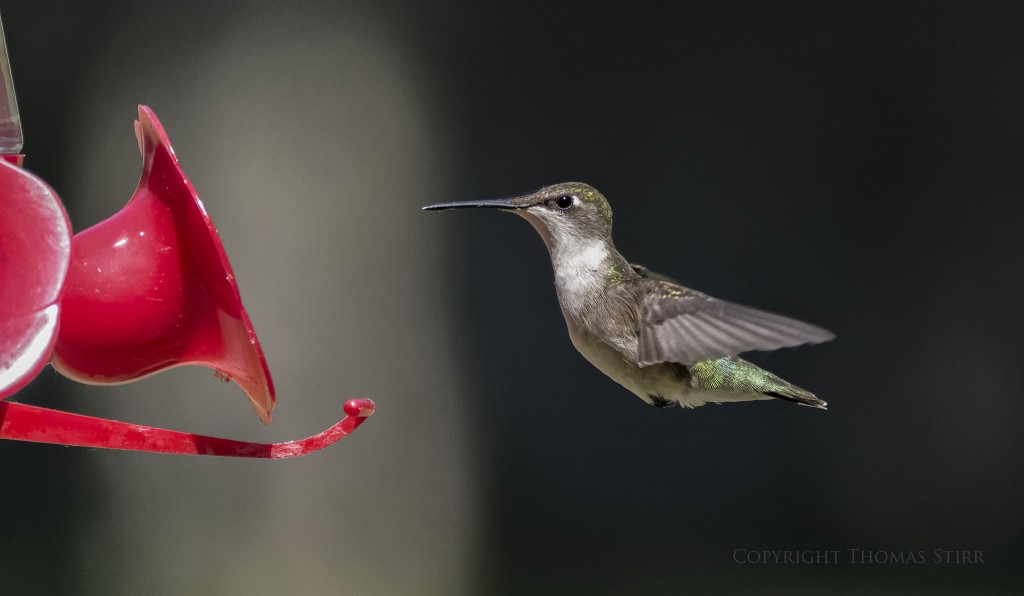
This is the tricky part for most people. While looking through the viewfinder of your camera (which is aimed at the ‘dead spot’ where you anticipate the hummingbird hovering), keep your left eye open and look at the entire hummingbird feeder scene simultaneously. This will allow you to notice a hummingbird entering the scene and alert you to a potential AF-C run opportunity. If you keep your left eye closed the action is likely to happen so quickly that you will not be able to depress your shutter in time to capture the hovering hummingbird.
Technical Note: All images were taken hand-held using a Nikon 1 V2 with Nikon 1 CX 70-300 f/4.5-5.6 VR lens in available light. Images were produced from RAW files that were processed through DxO OpticsPro 10 including PRIME noise reduction. A DNG file was then exported into CS6 and Nik Suite for additional adjustments as required.
My intent is to keep this photography blog advertising free. If you enjoyed this article and/or my website and would like to make a modest $10 donation through PayPal to support my work it would be most appreciated. You can use the Donate button below. Larger donations can be made to tom@tomstirr.com through PayPal.
Article and images Copyright Thomas Stirr. All rights reserved. No use, duplication of any kind, or adaptation is allowed without written consent.


You better write how to photograph them with a flash. I’ve never heard about it.
Hello Dimon,
Thank you for the suggestion. Unfortunately this is not my area of expertise. The set-up/equipment used can be fairly complex. If you are interested in this subject I’d suggest doing a quick search on the internet as there are a number of articles that cover that particular topic.
Tom
Hi Tom,
I’m so glad you posted this article – photographing the hummingbirds that come to my feeder is something I really want to try this summer. I have found that their activity tends to increase dramatically in August when the juveniles strike up games of tag around the feeder! Any thoughts or tips on trying this with the Tamron 150-600? I’m still pretty new to this lens. I’ve been using it on a D5100 which gives me even more reach. I ave not tried shooting much in RAW, and when I did the camera seemed pretty slow to recover, so I have shot mostly in jpeg up until now. I guess I just need to give it another try!
Cheers,
Charlene
St Davids, ON
Hi Charlene,
Thanks for the positive comment on the article – much appreciated! As far as using your Tamron 150-600 with your D5100 I would try to use the various techniques outlined in the article with your gear, i.e. shoot in Ch mode, use manual settings and auto ISO, etc. You should be able to get some nice images. You may find the Tamron a bit heavy to hand-hold so you may need to mount it on a tripod. While you’ll likely miss some shots with the lens being tripod mounted you could use a remote on your camera which would help to anticipate the timing of your shutter release. You also may need to pull back on the zoom so your images cover a bit larger area when using the Tamron tripod mounted. Other than that just give it a whirl and see how it goes!
Tom
As an additional suggestion, try with a monopod. If waiting between shoots to be handheld, will allow you to rest, and does not add a lot of weight if pick up for short bursts. WEJ
Hi William,
Thanks for adding to the discussion!
Tom
Thanks for the advice! I will definitely try that!
Hi Charlene,
Let us know how it turns out!
Tom
Hi Tom, I did find the Tameron 160-600 to be more lens than I needed for this, and started to finally have better luck hand held with my Nikon 70-300 at about 200mm. So far I have not been able to capture anything sharp of the birds in flight, but I’m getting closer to it. I did get one that is a keeper of the bird on the perch. This is much more challenging than I thought! But loads of fun! The biggest problem seems to be the amount of noise with higher ISO’s. Perched, I can drop the ISO to 400 and still have a fast enough shutter speed with an f7.1 aperture . Flying, not so much! All in all I’m learning a lot trying to figure out different ways to get what I want. Luckily they will still be here for a few more weeks! Thanks again for the article!
Charlene
Hi Charlene,
Something else you can try to do is photograph the hummingbirds at a 90-degree angle. This will allow you to get the entire bird in focus while using a more open aperture. Using this approach you may be able to get nice, sharp images at f/5.6 or perhaps even f/4, keep your ISO fairly low and use a faster shutter speed.
These little beauties are a challenge to capture, but as you said, it certainly is a lot of fun!
In terms of ISO noise, I’m not sure what software you are using. I’d suggest trying out a trail version of OpticsPro 10 and test out the PRIME noise reduction function. I find it works extremely well on my Nikon files and gives me 2 stops on my Nikon 1 files.
Tom
Great shots Tom! Those little tiny amazing birds are super tough. We get a few in the back yard on some flowing plants but my luck has been less than stellar.
I need to try yet again as in good light the higher ISO’s on the v3 are reasonably well managed. Your shots certainly show that on the v2 as well.
Maybe I need to get the feeder!
Mike
Hi Mike,
I’d certainly invest in a feeder…or two! Your local garden centre can also advise on the types of plants that attract hummingbirds. I shot wide open at f/5.6 and in order to maintain a high enough shutter speed to try and freeze as much wing movement as I could I ended up with quite high ISOs (I used 160-6400 autoISO). The PRIME noise reduction in OpticsPro 10 really helped with the final look of the files.
Tom