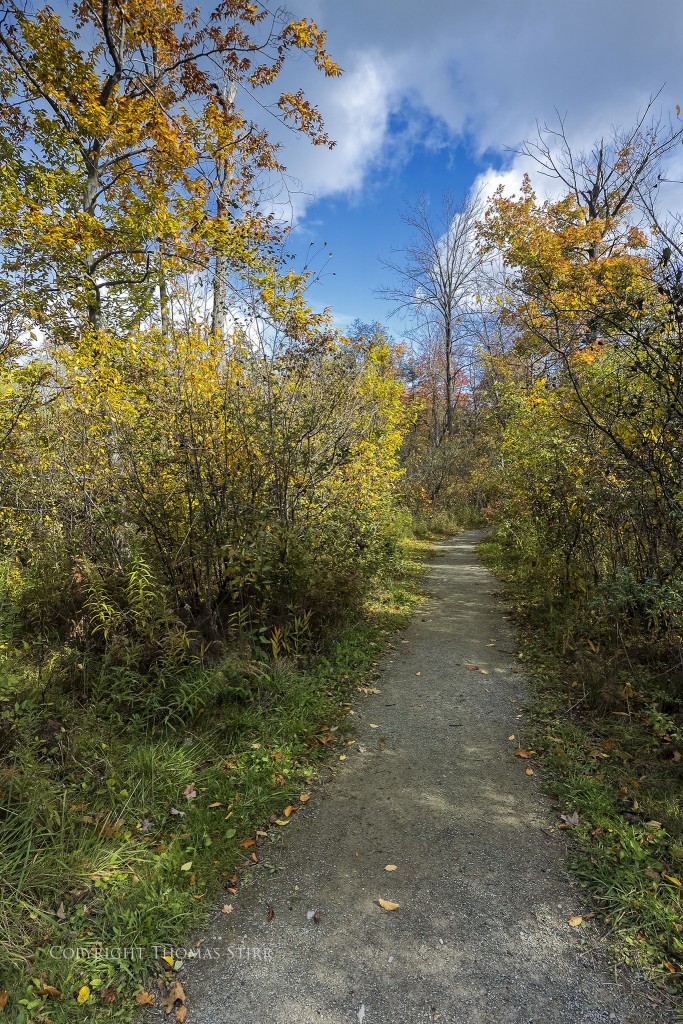
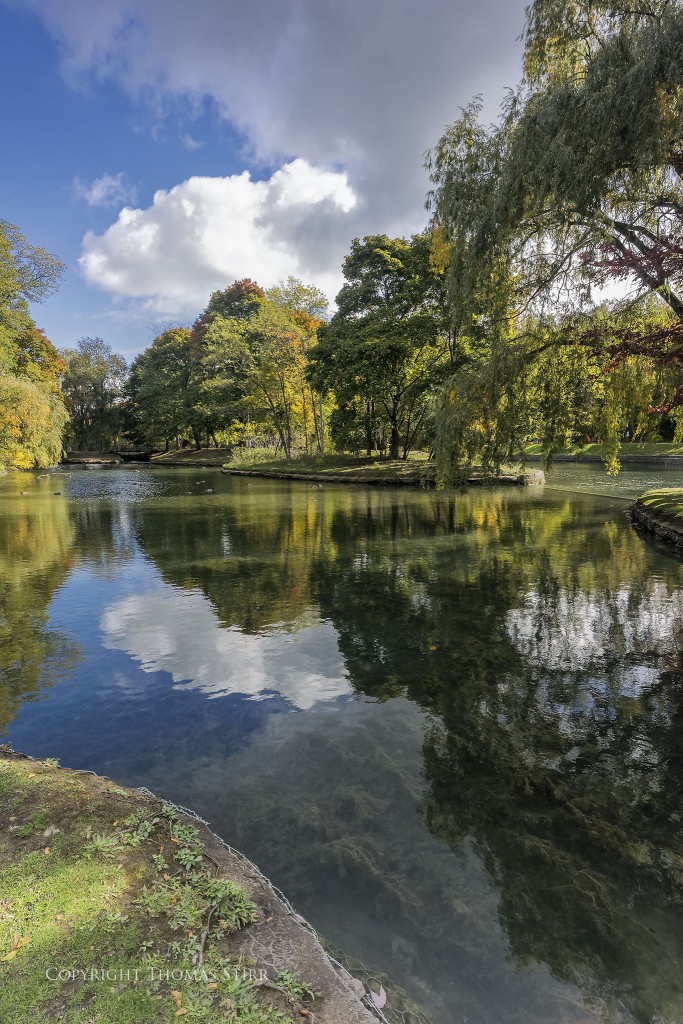
Just like what owners of full frame and cropped sensor DSLR’s experience, using graduated neutral density (GND) filters with Nikon 1 and M4/3 cameras can help improve the images you capture, especially if you like landscape photography.
One could argue that since the sensors in Nikon 1 and M4/3 cameras have less dynamic range than most DSLR’s using graduated neutral density filters is even more critical with these smaller sensor cameras.
NOTE: Click on images to enlarge

A graduated neutral density filter is an optical filter that has an increasing amount of shading on it so that light transmits through it at different intensities. Usually half of the filter is clear then transitions into grey shading which gets progressively darker towards the other end of the filter.
Essentially it cuts down the amount of light in a portion of your image causing it to be underexposed. This makes that portion of your photograph darker. Since the filter is graduated the change in exposure effect transitions in slowly rather than being abrupt.
These filters are often sold in sets that provide photographers with different degrees of light shading capability. They are available in either ‘soft’ or ‘hard’ which describes whether the actual transition point is a straight line or is feathered in. My set of Lee GND filters pictured above is the ‘soft’ type.
Graduated neutral density filters can be used for a range of subjects but is most typically used for landscape photography. For example it is very common for photographers to position the shaded area of a graduated neutral density filter on the sky to help even out exposure on very bright, sunny days and thus reduce the risk of highlights being blown out,. As a result they capture more highlight detail in the upper portion of their image.
This morning I went to the Dufferin Islands Nature Area in Niagara Falls, Ontario and took a some quick, hand-held images using my set of Lee graduated neutral density filters. You’ll have to excuse the fact that the scenes are not identical as I was shooting hand-held rather than with a tripod so I couldn’t exactly match the scenes.
I also didn’t bother using my Lee filter frame and chose to simply hold the filter up against the end of my lens. When using the filter either hand-held or with a filter frame you’ll need to remove your lens hood. When side or frontal lighting is present you’ll need to check your frame for possible lens flares. You may need to use your hat or some other object to shade the front of your lens to eliminate the flare.
Let’s look at several rough comparisons of some images. The first image in each set is an out-of-camera jpeg that was shot without using a GND filter. The second image is an out-of-camera jpeg of a similar scene that was shot with a GND filter. The third example in each set has been processed using the RAW file from the second image.


As you can see from these quick examples, even if you are a jpeg shooter you can improve your images by using graduated neutral density (GND) filters.
My intent is to keep this photography blog advertising free. If you enjoyed this article and/or my website and would like to make a modest $10 donation through PayPal to support my work it would be most appreciated. You can use the Donate button below. Larger donations can be made to tom@tomstirr.com through PayPal.
Article and all images Copyright Thomas Stirr. All rights reserved. No use, duplication of any kind, or adaptation is allowed without written consent.


Just lovely!
I have never used one of these filters, but I can see now just how useful they can be for some subjects. Thanks for the article.
Thanks Joni – I’m glad you found the article of interest.
Tom
Hi Tom,
Whilst, of course, you see the effect you are after as you take the shot, I wondered if have you any idea how a photo taken with onsite graduated filters compare with a post-processed photo using a digital graduated filter – such as that found in Lightroom?
Thanks
KSPGM
Hi KSPGM,
You have me at a disadvantage as I have never used Lightroom and that particular function. What I can tell you is that there was a noticeable difference working with the RAW files of the ‘non GDN filter’ image vs the ‘GND filter’ one. There was a lot more highlight detail with which to work with the ‘GND filter’ file.
Tom