

Post processing can be an intimidating adventure for a lot of folks who are used to shooting jpegs. This article shows a range of ‘single click’ presets that are available in OpticsPro 11 to demonstrate the effect that they can have on an image. I assume that other photographic software also includes some standard presets.
It is important that I state right up front that I do not consider myself any kind of an expert in post processing techniques. The purpose of the article is simply to introduce the notion of using presets and how they can impact an image.
NOTE: Click on images to enlarge.
First let’s have a look at an out-of-camera jpeg. This image was taken with a Nikon 1 J5 with a 1 Nikon 6.7-13 mm f/3.5-5.6 zoom lens @ 6.7 mm, efov 18 mm, F/5.6, 1/1000, ISO-160.

Many folks would find this to be an acceptable image and there certainly is nothing wrong with shooting in jpeg if that is a person’s preference.
As we look at the balance of the images in this article it should be noted that they were all processed from the corresponding RAW file.

The image above was run through OpticsPro 11 with the software applying its standard corrections only. No other adjustments were done to the file.
Now let’s look at some of the standard presets available in OpticsPro 11. Each of these can be applied to an image with one mouse click. First the ‘standard landscape’ preset.

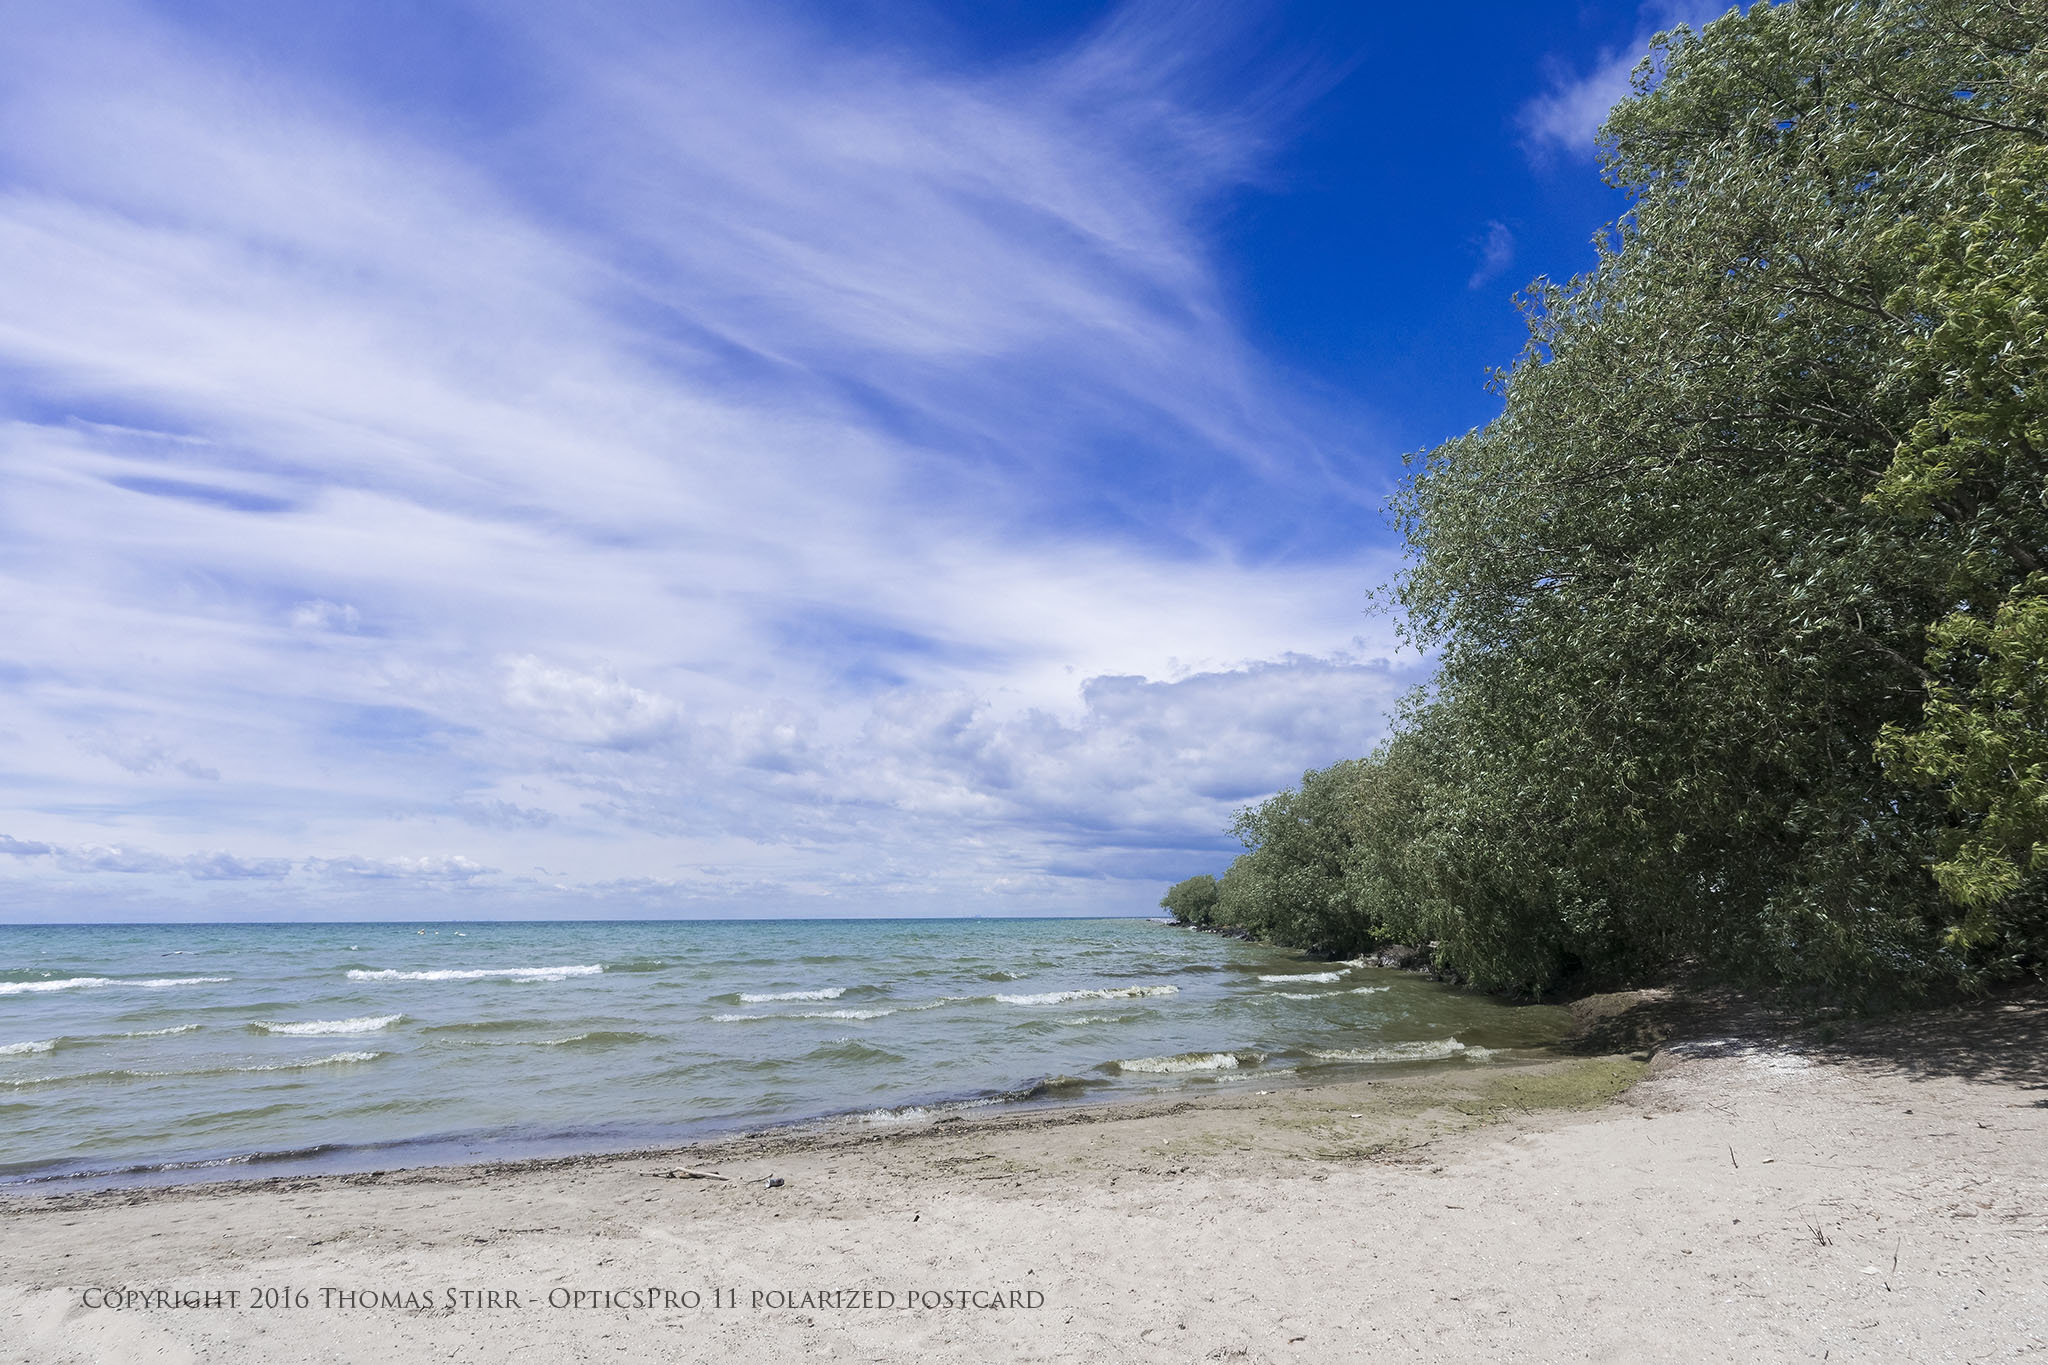
The next image uses the ‘polarized postcard’ preset.
Now let’s have a look at the ‘washed out’ preset.

The next one uses the neutral colours preset.

The contrasty preset was used on the next image.

There are also a few HDR presets in OpticsPro 11 that can be used. Let’s look at the HDR realistic preset.

Now the HDR artistic preset.

The next image uses the HDR backlight preset.

How a particular photographer may want their images to look is an intensely personal decision. As such I don’t think there is a ‘right’ or ‘wrong’ interpretation that someone can choose with their own images. All of the ‘single click’ presets we’ve just viewed give photographers some easy ways to experiment with the appearance of their images.
DxO OpticsPro 11 (and previous versions) also gives photographers the opportunity to create their own custom presets. I assume that most other photographic software also has this type of option available.
Since a custom preset is based on how a wide range of sliders can be set the number of possible custom presets is virtually limitless. To demonstrate custom presets I’ve prepared a couple of sample ones for this article.
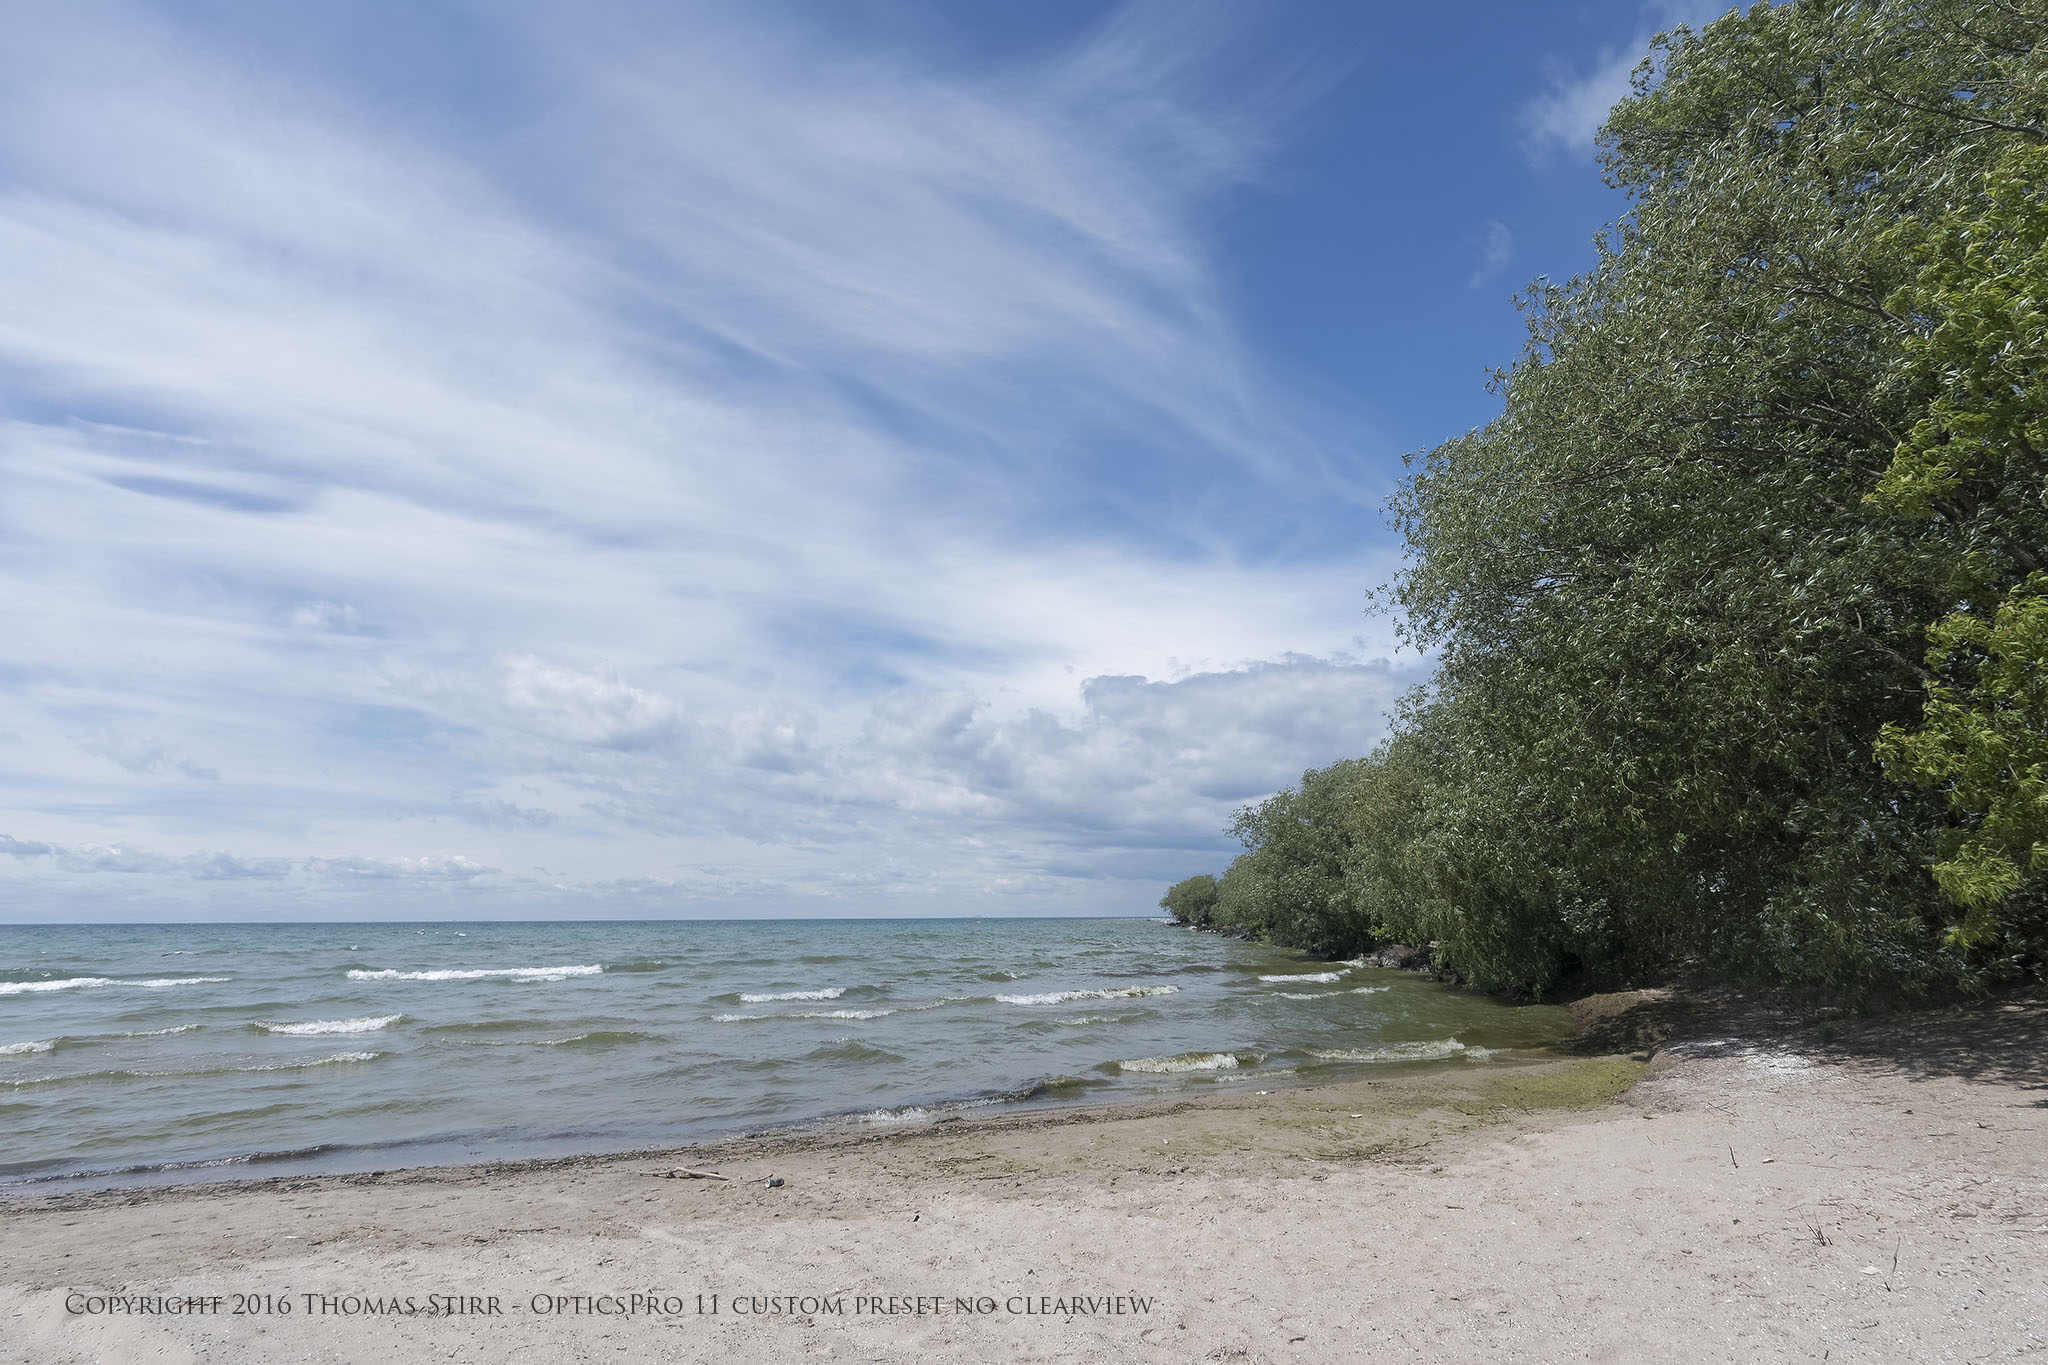
The custom preset above does not use the ClearView slider. The OpticsPro 11 settings used to create it are as follows: Highlights -20, Microcontrast 5, PRIME noise reduction, Global lens softness 1.20, and Detail lens softness 70.
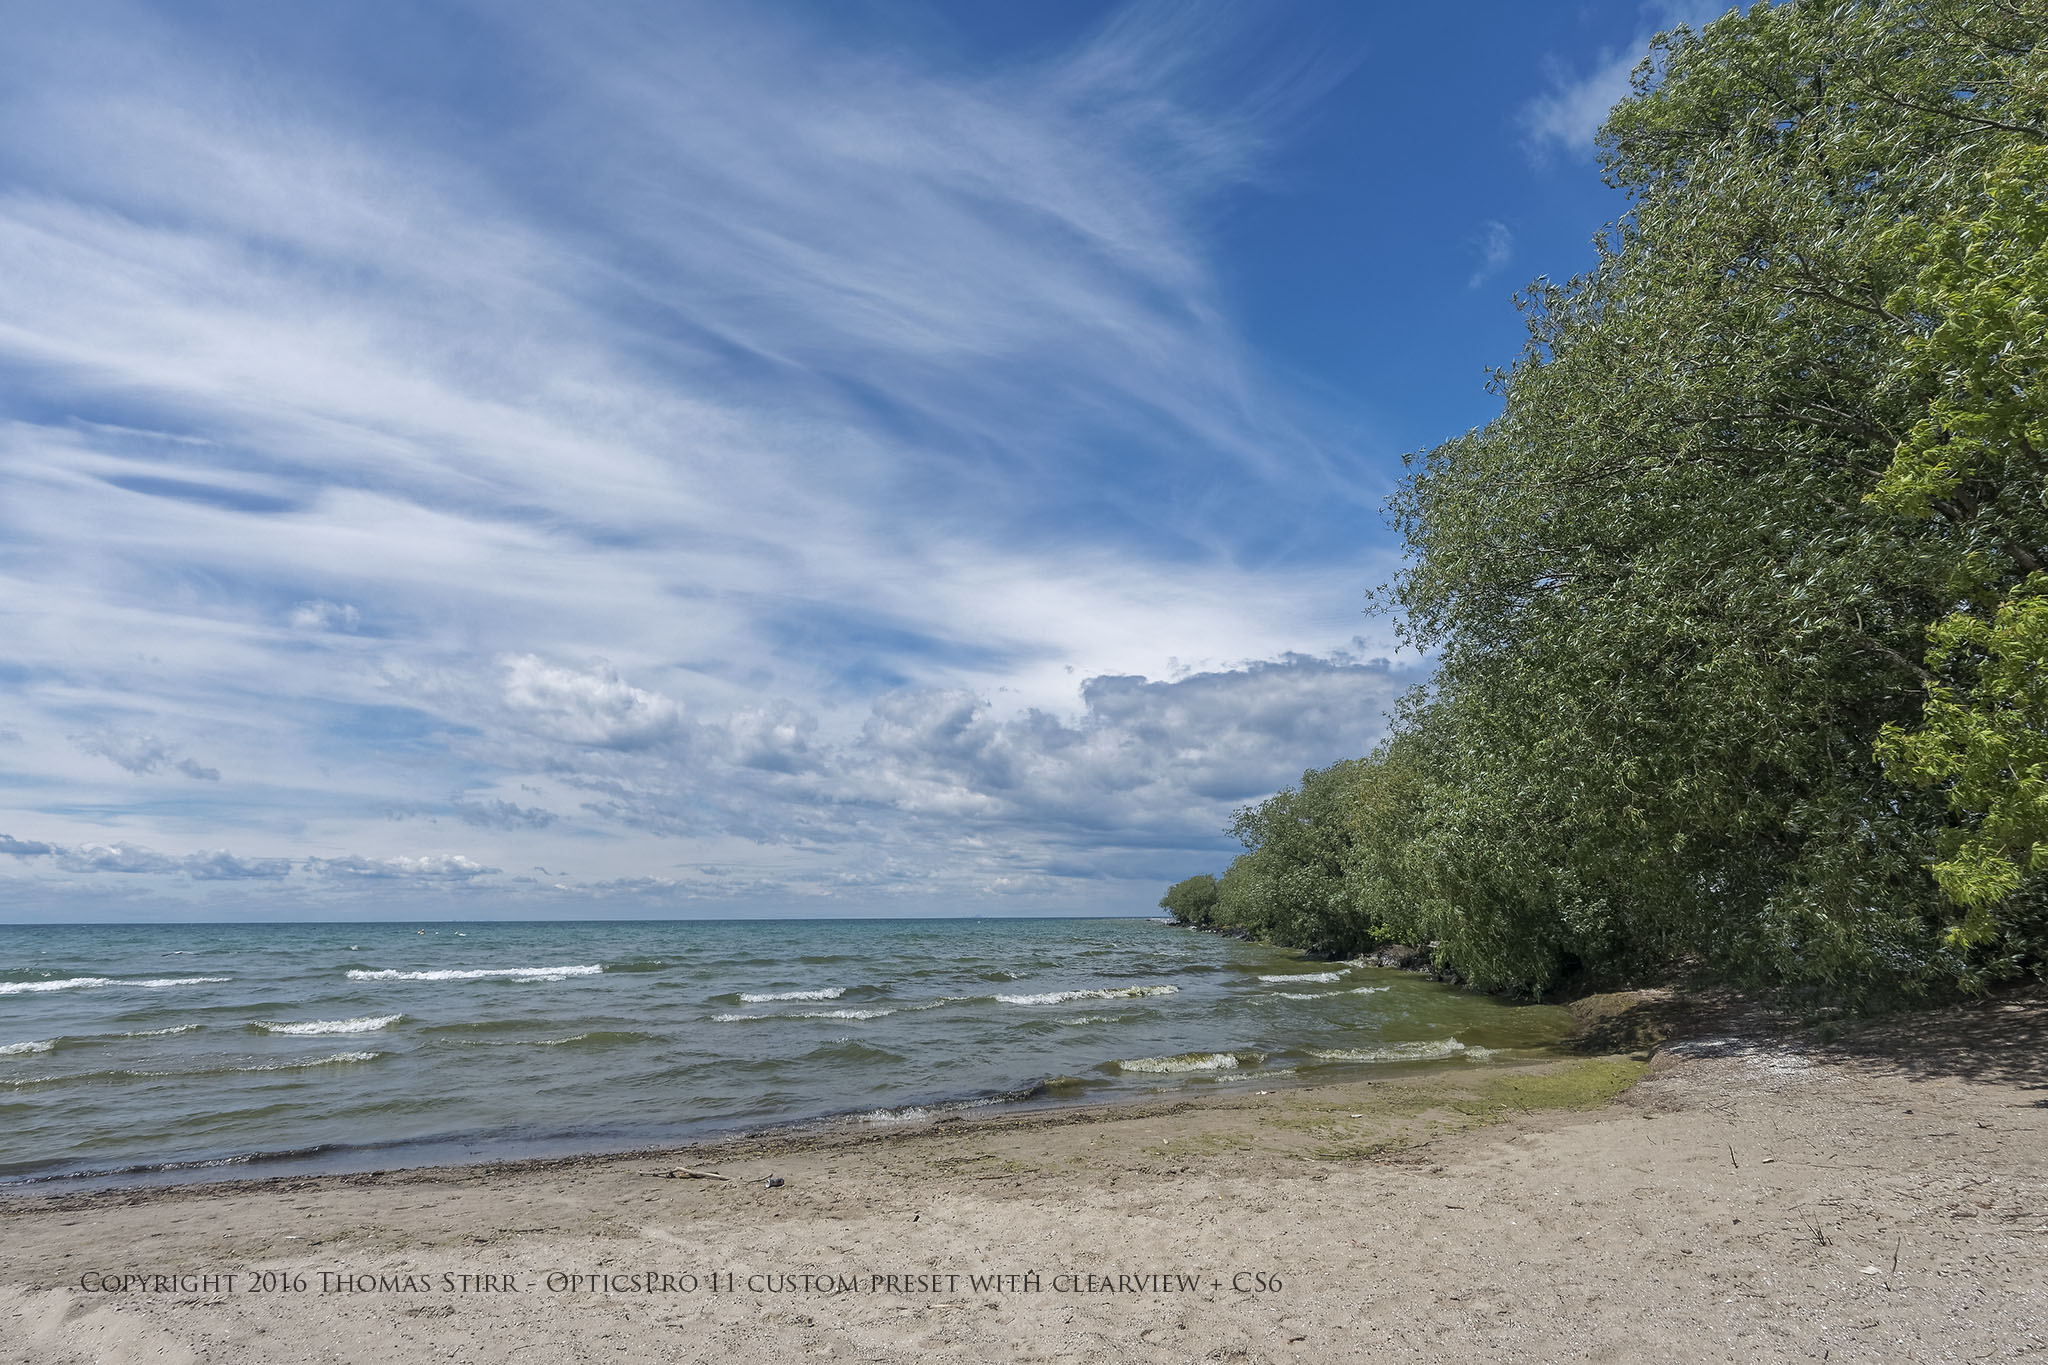
Now, let’s see what happens when some additional adjustments are done using CS6 (or Lightroom).

The CS6 settings used were Contrast +10, Highlights -100, Shadows +30, and Clarity +15. Now let’s add some small adjustments in Nik including polarization, contrast and structure.

Of course some folks may like to give their images a bit of a surreal look with very aggressive adjustments in post. I’ve prepared another sample custom preset along these lines by adding ClearView.

This preset was created with the following settings: Highlights -20, Shadows +5, ClearView 30, Microcontrast 5, PRIME noise reduction, Global lens softness 1.20, and Detail lens softness 70.
Now let’s apply the exact same adjustments in CS6 that we did to the first custom preset.
And finally, let’s add the same adjustments we previously made with Nik.

And to bring things full circle, here’s the original out-of-camera jpeg again.
Working with a RAW file in post gives a photographer a world of options with which to interpret their images and instil their unique artistic vision.
There is a wide variety of photographic software available that can be used and this article is not intended to recommend one program over another.
My intent is to keep this photography blog advertising free. If you enjoyed this article and/or my website and would like to make a modest $10 donation through PayPal to support my work it would be most appreciated. You can use the Donate button below. Larger donations can be made to tom@tomstirr.com through PayPal.
Article and all images are Copyright 2016 Thomas Stirr. All rights reserved. No use, duplication or adaptation of any kind is allowed without written consent. If you see this article reproduced anywhere else it is an unauthorized and illegal use.
Hi Thomas,
Another very informative post, thank you. In your opinion, does Optics Pro 11 have enough new features included to warrant upgrading versus version 10.5? Has the Prime Noise reduction been upgraded in 11? That alone would probably be worth in my opinion.
Thanks, Vinnie
Hi Vinnie,
I haven’t had very much time with OpticsPro 11 to try out some of its new features and to make an assessment of the PRIME function between the two versions. I know some readers have said that the spot weighted mode in Smart Lighting is excellent when working with images of people, and for some folks that feature is worth the upgrade price. I’ll likely be in a better position to comment in a couple of weeks.
Tom
Hi Vinnie,
I did some testing and put an article together on it. Hope that helps!
Tom
Hi Tom,
I looked at the article and photos you did the testing on. Ver. 11 definitely is faster as per your results than ver. 10. And the noise seemed to be a little less, or smoother. As you said i the article, someone else may perceive changes and results obtained from ver. 11 differently than you. What are the file sizes you are working with from your Nikon 1 J5? Much smaller than the file size from a D800. I wonder if the processing time of a D800 file would show the same percentage of savings between the two different versions. 23% to 43% is a significant savings I think.
Thanks for the time and effort you put into testing and documenting your findings.
Vinnie
Hi Vinnie,
I’m glad you found the article of benefit! The Nikon 1 J5 files I used are 20.8MP.
Tom
Thanks Thomas, for your information Mac users can download a DXO Optics plugin for OS Photos that includes the latest Prime Noise reduction for the princely sum of $10.
Thanks for providing this tip to readers Russell!
Tom