Like most photographers I enjoy going to the zoo to view the variety of animals, getting some exercise, as well as taking some images. During a recent visit to the Metro Toronto Zoo I had the opportunity to capture a number of images that I thought may be fun to share with readers. Finding light and details at the zoo can contribute to some interesting image captures.
As would be expected, I prefer to use telephoto zoom lenses for zoo visits, especially ones with shorter minimum focusing distances as they are much for flexible to capture a range of subjects. I’ve also been making it a practice to bring some extension tubes along as they are very handy for ‘macro-type’ images. Zoo visits can also be excellent opportunities to practice our hand-holding technique.
NOTE: Click on images to enlarge.

I find that I seldom take images of complete animals and usually focus in on something unique with a particular specimen such as the tusks that have grown through the snout of the boar in the above image.
All of the images in this article, including the one above, were shot using Nikon 1 gear. I primarily used my Nikon 1 V2 with the CX 70-300 mm f/4.5-5.6 VR lens, but also took a few images with the Nikon 1 J5 with either the CX 70-300 mm or the Nikon 1 30-110 mm f/3.8-5.6 (the latter usually with a 10 mm Vello extension tube). Images shot with the V2 were processed using RAW files while all J5 images are out-of-camera jpegs with some adjustments made to them.
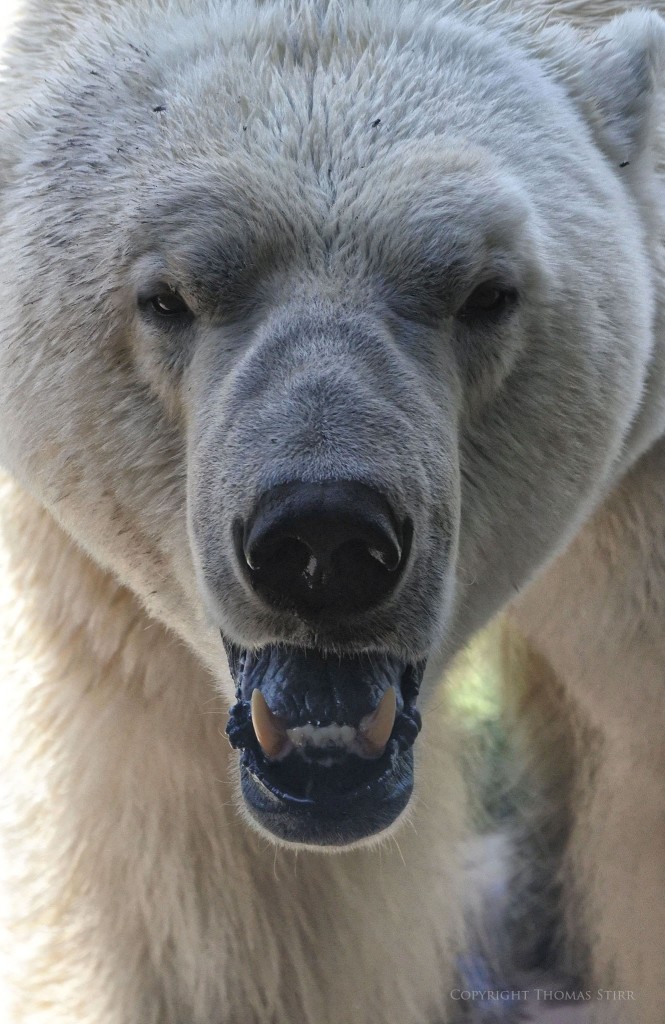
Often when photographing carnivores like the polar bear in the image above, I’ll try to think of myself out in the wild and imagine the animal approaching me. I find this helps to spark some creativity and often creates more immediacy with the resulting image. It can help capture a different perspective of the animal.

At other times I’ll observe a particular specimen for a while as they will often exhibit patterns of behaviour. In the image above I was able to grab a tight framing on a polar bear’s head just as it was surfacing – a ‘seal’s eye view’ perspective.

Framing up a potential shot and then waiting for it to possibly happen can also be quite helpful as was the case with this tiger image. It was walking away from me quite slowly at about a 45-degree angle and as such did not represent an image worth taking. I was hoping that the tiger would pause and look back to its left which it did. I was ready for it and I was lucky enough to capture the moment with a nice variance of bright sunlight and shadows in the background.
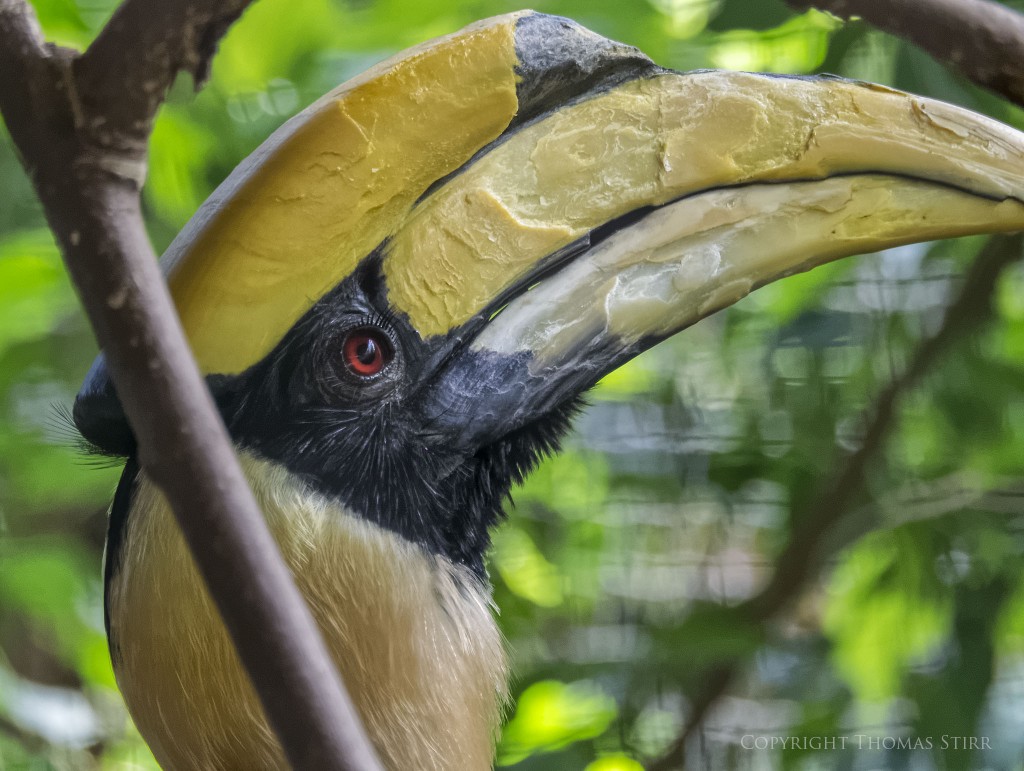
Photographing at a zoo frequently means shooting through obstructions of some sort, whether it is solid glass panels (often heavily soiled on both sides of the glass) cages or some kind of mesh. Using long telephoto zoom lenses usually allows me to focus well past mesh enclosures as was the case with the image above. There are still some unnatural looking patterns in the background but at least the mesh enclosure did not obstruct the frontal view of the bird.

While I’m sure I’ll never get the opportunity to travel to Africa and take part in a photo safari, I find that it does help to imagine those kinds of scenes in my mind when at the zoo. This often helps me recognize image opportunities like the cheetah lying in the shade in the above image. When shooting animals at a distance I find that it is often helpful to put my single point AF on their body just below their head. This helps to ensure that the AF point is on the subject so that my camera’s AF doesn’t get confused.
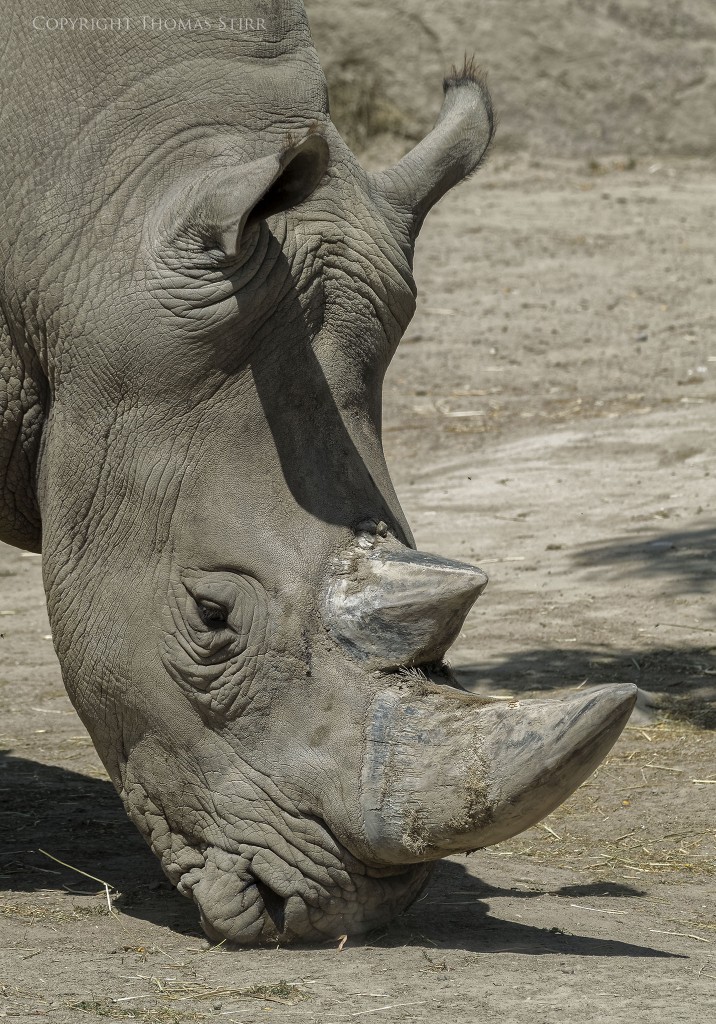
Some animals like rhinoceros are large, moving, monochromatic masses but they can be great subjects for tightly framed images when their highly textured skin can provide interesting detail.
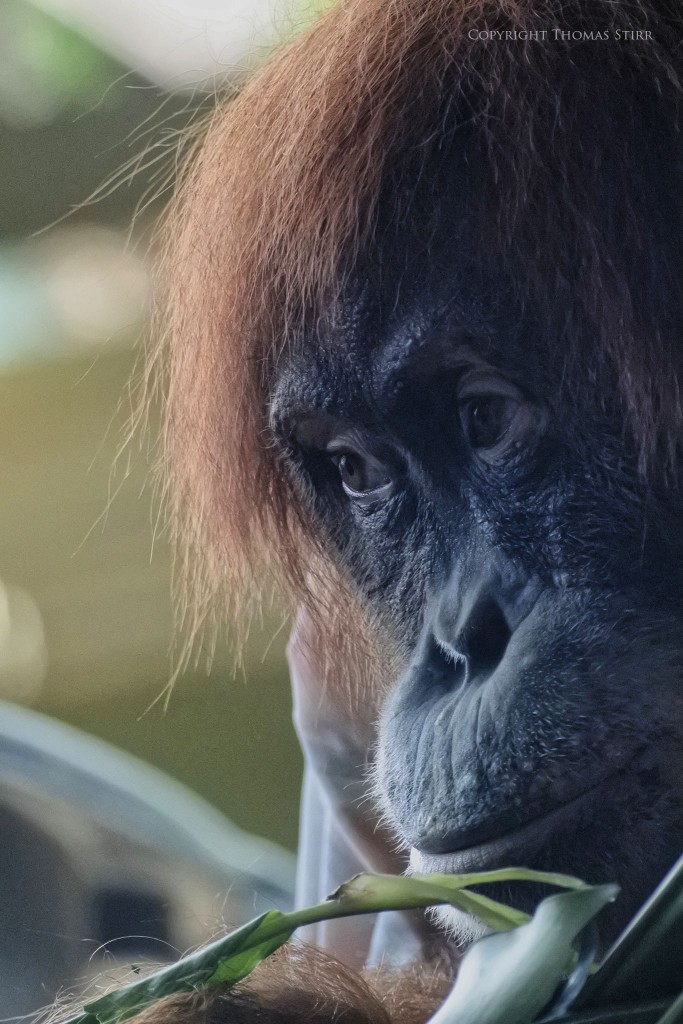
Orangutans are my all-time favourite subjects at zoos and I often spend a number of hours observing and photographing them. Unfortunately during my most recent visit only one specimen was in the display area. When I can get in close enough I will often look for interesting lighting like the side lighting in the above image. I find this can add some drama to ‘portrait style’ photographs and brings a sense of intimacy to the image.
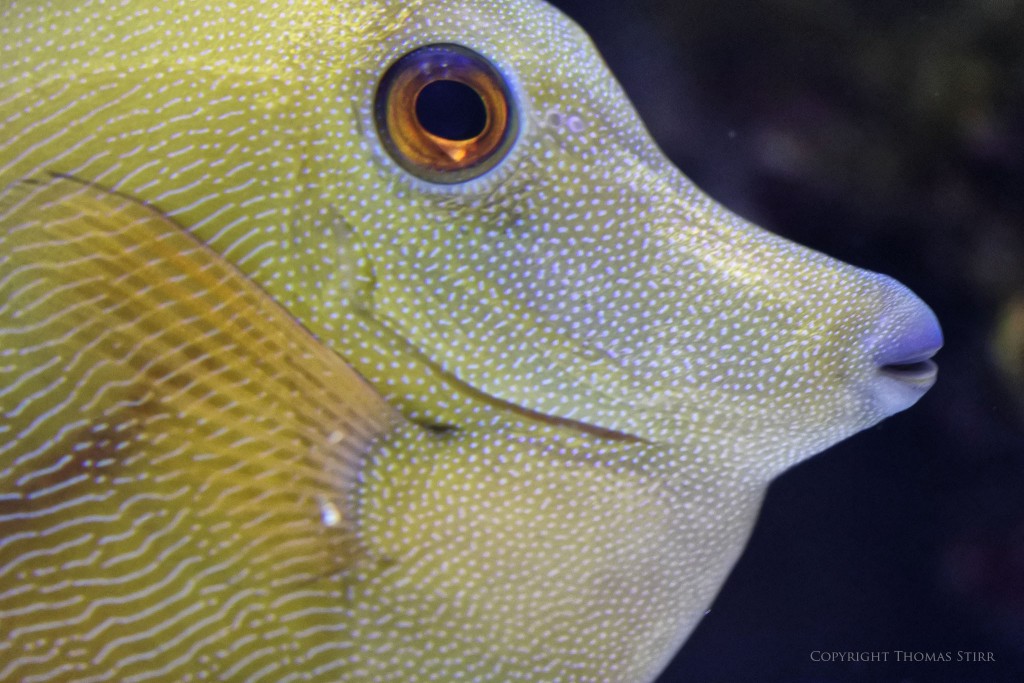
Trying to photograph individual fish in an aquarium can be a challenge as the lighting is often poor and the fish are moving which was the case with the image above. To capture this image I used the Nikon 1 J5 with the Nikon 1 30-110 mm lens along with a 10 mm Vello extension tube. I did a few test images to try to find a portion of the tank that provided the best foreground light while also having a dark background, thus creating maximum image contrast. Since I was only able to shoot at 1/125 while keeping my ISO within reasonable limits I had to pan along with the fish as it was swimming past me in the tank. I used the flip out screen on the J5 to help me coordinate my movements with the fish as I had to shoot from waist height.

Another favourite zoo subject of mine are reptiles. I love the incredible detail in their skin, eyes and mouth. When photographing individual specimen I will look for smooth, uncomplicated backgrounds as in the image above. This helps to accentuate the texture of a reptile’s skin.

Finding the right combination of lighting can help add some drama to reptile images. With the image above I positioned myself so that the light coloured nose of the snake would be positioned directly over an area of dark shade in the enclosure. There is always some risk of added noise when this approach is used but it can be worth the gamble. This is an out-of-camera jpeg shot at ISO-6400 so it is noisier than I would prefer. Once I have the opportunity to work with the RAW file I’m sure I’ll be able to get much better final results.
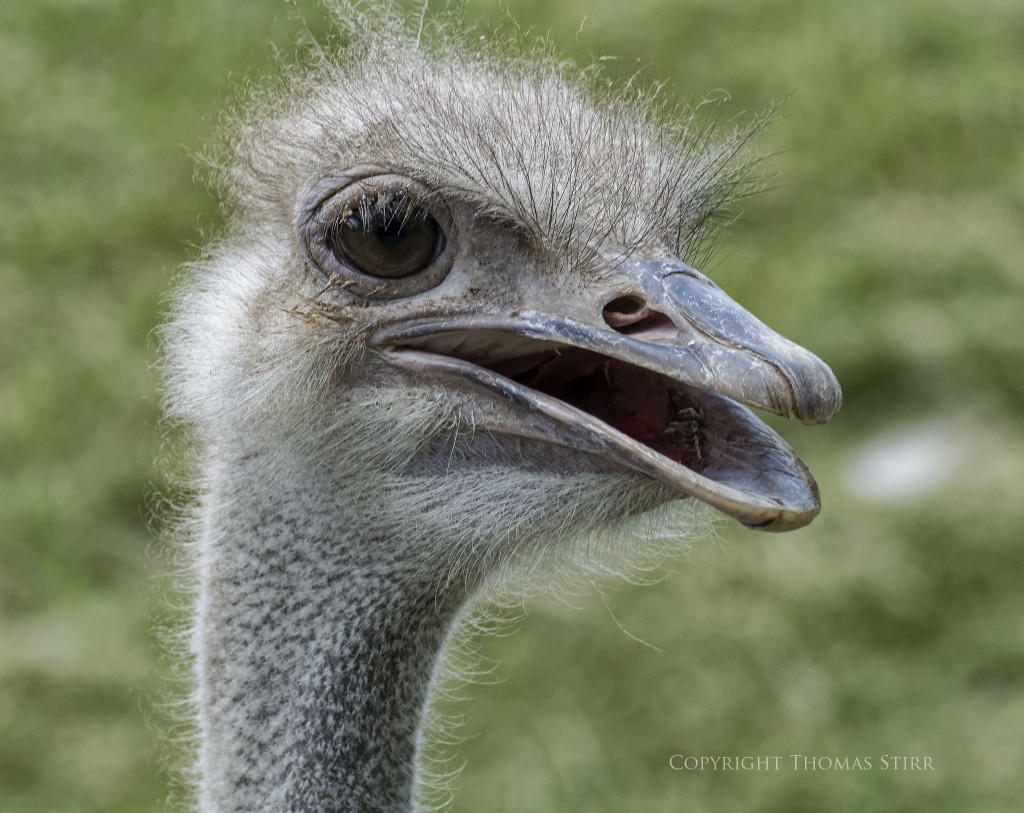
Sometimes we don’t have much choice in terms of background and its all we can do to even get a usable photograph as was the case with the image above. This ostrich was super animated and would not keep still at all! It kept walking with its head continually bobbing and weaving. After dozens of failed attempts I was able to at least get this image. Yeah…sometimes I can be stubborn and want to get an image just to prove to myself that it is possible.

Patience can also be helpful when photographing more static subjects like the Komodo Dragon in the above image. Lizards and snakes, even when motionless, will often sample the air with their tongues. If you time your shot you can get some ‘action’ in your photograph.
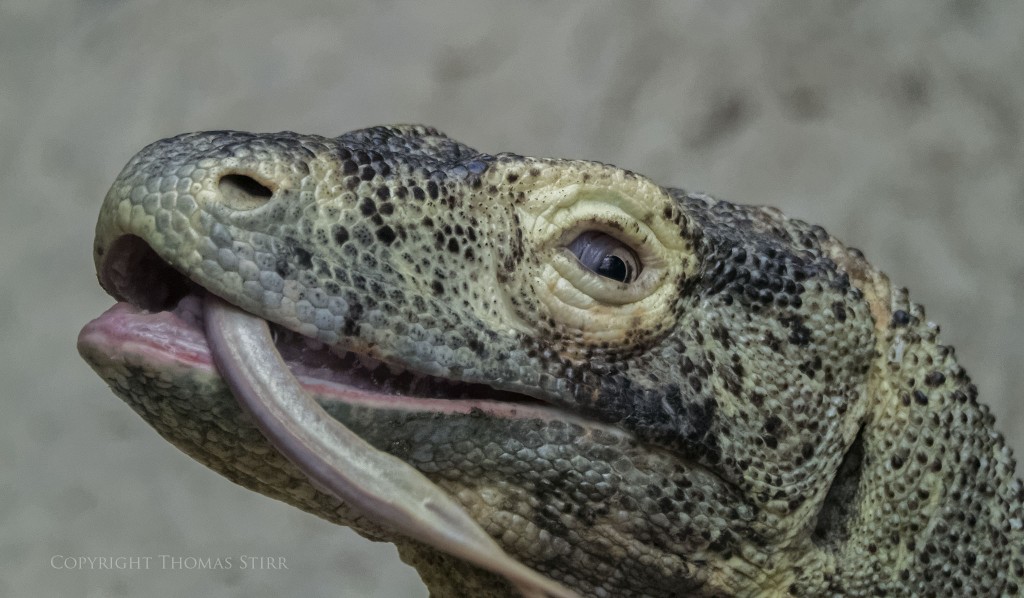
And, with a bit of luck you may get something really dramatic!
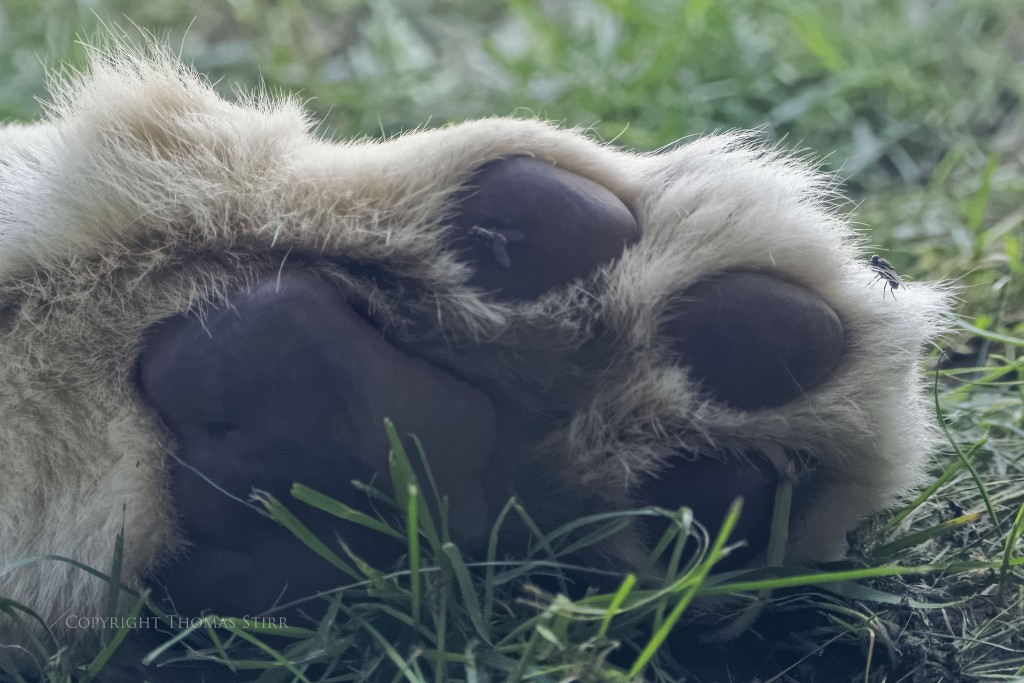
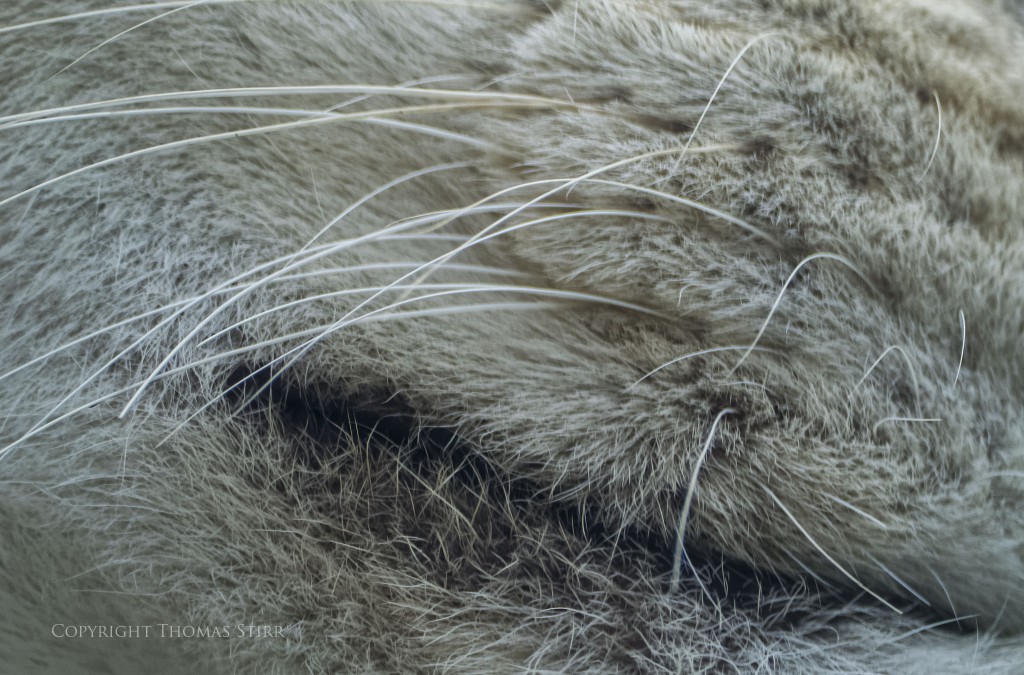
At other times animals just don’t seem to want to cooperate at all, like the sleeping lion which had its back up against the glass viewing wall. When faced with these types of situations I’ll often look for some kind of detail that may make an unusual image like the flies on this lion’s paw in the photograph above. It’s not a great image as it was taken through extremely soiled glass. I included it, and the photograph of the macrovibrissae on the lion’s snout below, just as examples of the type of ‘detail’ image that can be captured.
It also pays to be attentive to motion that is happening outside of zoo enclosures.

I noticed the chipmunk in the above photo scurry into some bushes that were growing right up against a display enclosure. This little guy was hiding in dark shade and likely thought that I couldn’t see him. I was able to shoot through a small opening between the branches of the shrub to get this image.
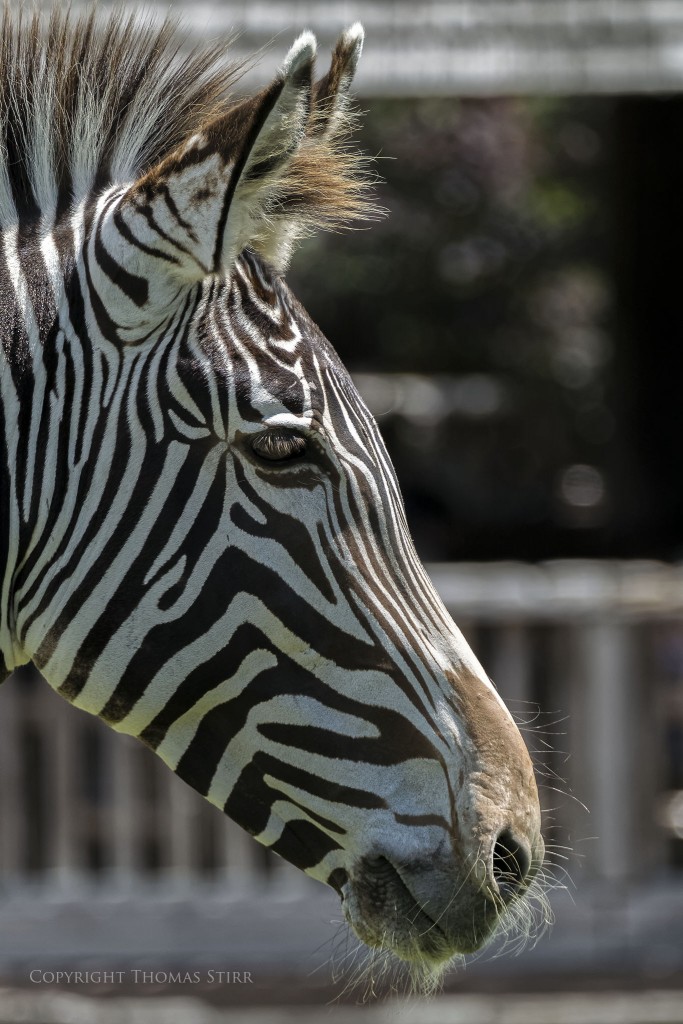
Paying attention to lighting can be very beneficial even when your subject is in bright sunlight as was the zebra in the image above. I had to climb up on a rock to make sure that the electric fence wires surrounding the display area were not in the photograph. I loved how the strong sunlight in the image highlighted the fine hairs on the zebra’s snout and chin.
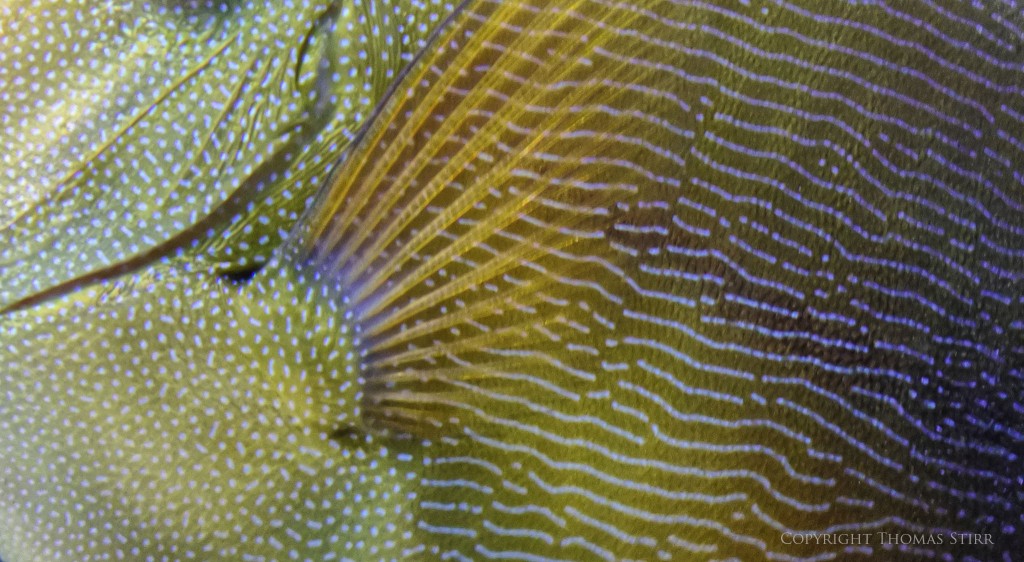
Even when one ‘misses a shot’ like I did with the photograph above, you still may end up with a usable image. I didn’t frame the original image quite right and partially missed the head of the subject fish. With a slight crop the patterns and detail on the side of the fish made for an interesting capture.
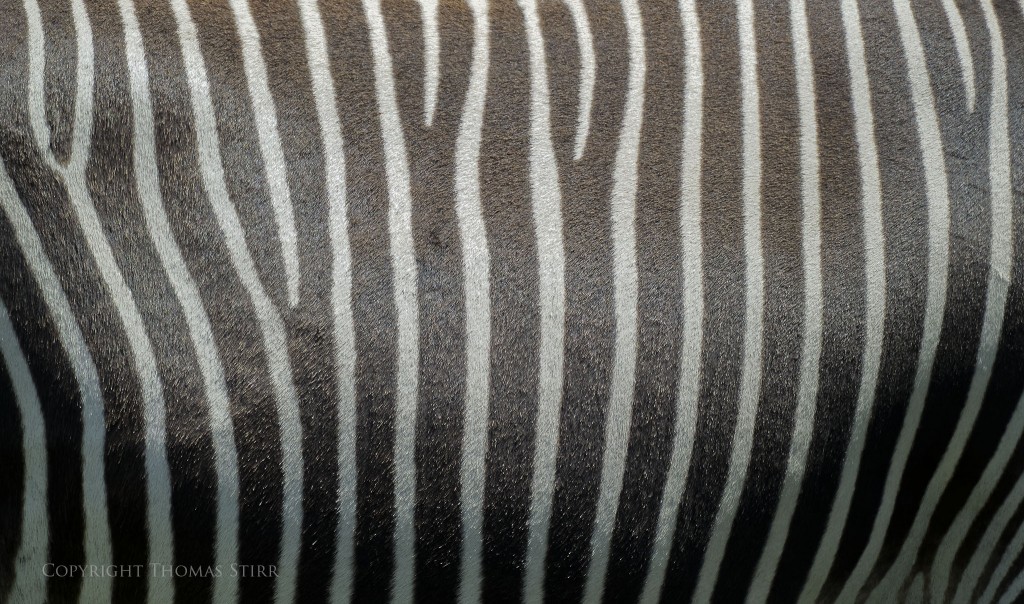
I also loved the way that the strong sunlight added texture and a wave effect to the side of the zebra in the above image.

The lighting in the enclosure helped to highlight the details on the skin of a python in the photograph above.

On my way out of the zoo I couldn’t help but drop by the orangutan exhibit for another look. The one, lone orangutan was lying on the ground in dark shade. I was able to get fairly close but the shot was awkward to get as the glass was sloped away from me, going into the enclosure. To help minimize distortion from the glass I needed to climb up on the edge of the enclosure and try to position the lens on my camera parallel to the sloping glass. I was able to snap a few images including the one above.
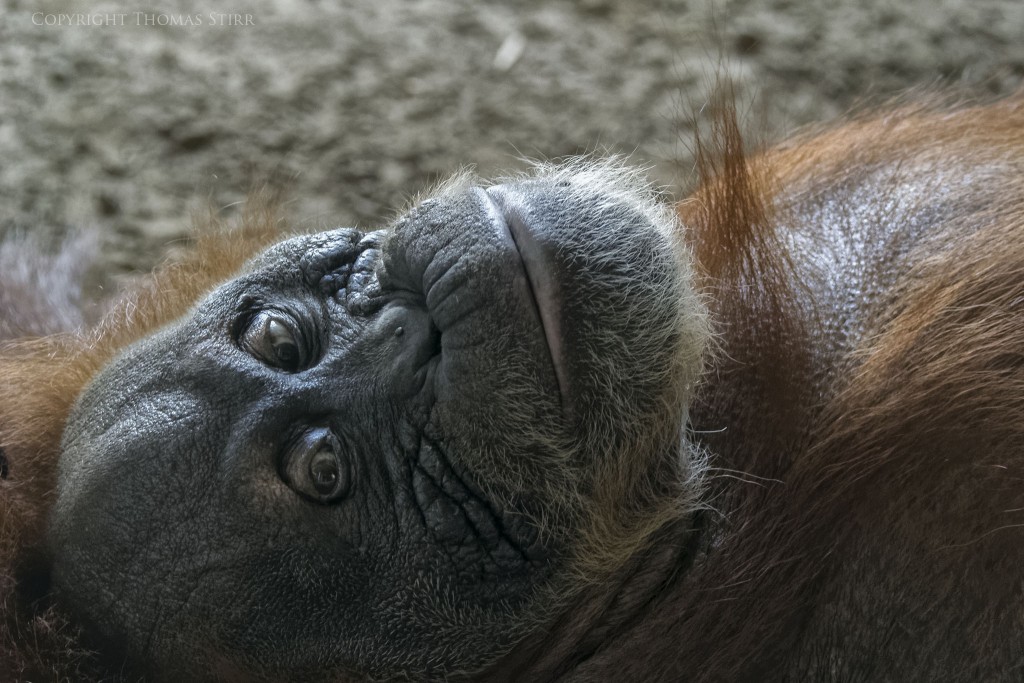
As luck would have it, just before I left the orangutan exhibit some clouds moved out and the shaded area in which the orangutan was lying brightened up a bit and I was able to capture the image above. It was a great way to end my 4 hour visit to the zoo!
My intent is to keep this photography blog advertising free. If you enjoyed this article and/or my website and would like to make a modest $10 donation through PayPal to support my work it would be most appreciated. You can use the Donate button below. Larger donations can be made to tom@tomstirr.com through PayPal.
Article and all images Copyright Thomas Stirr. All rights reserved. No use, duplication of any kind, or adaptation is allowed without written consent.


Great photos Thomas,
one question
why didn’t you process the j5 photos using RAW files?
the jpegs are not good at all comparing to V2
especially when j5 has a better sensor
thank you
D
Hi Dee,
Thanks for the positive comment about the images – much appreciated!
I completely agree with you about using the RAW files. Unfortunately at the present time the OpticsPro 10 module for the Nikon 1 J5 is not available. My plan is to wait for that module before I do my hands-on review of the J5 so I can use my preferred approach for post processing of RAW files.
Even using the jpegs, the improvements with the new BSI sensor are noticeable, and I anticipate will be even more so when I have the chance to work with the RAW files.
Tom
Hi Thomas,
You can try using Adobe DNG converter v.9.1+
(free for downloading )
convert all your NEF to DNG and then import them into OpticsPro
works for Lightroom
—
D
Hi Dee,
I’m not much of an Adobe fan…I’d rather wait for the OpticsPro 10 module…but thanks for the suggestion. 🙂
Tom
it’s OK )
the converter is just a converter that allows you to make you unsupported files supported by OpticsPro
I use it sometimes if I can’t wait…
regards,
Dee
Hi Dee,
🙂 I really like all of the auto corrections that OpticsPro 10 does to RAW files, which are based on the extensive testing done by DxOMark. Since the files that I captured with the Nikon 1 J5 are basically for review purposes there’s little urgency to circumvent my preferred process. So far I’ve been quite impressed with the J5’s new BSI sensor and I want to give the RAW files my best effort, which for me starts by using OpticsPro 10.
Tom
Hi Tom,
I agree with you
..and Adobe DNG converter didn’t work out 🙁
I have converted J5 photos to DNG but DxO still cannot recognize them…
so unfortunately a new module is still required
Hi Dee,
Thanks for taking the time to try that out!
Tom
Tom,
New to this website. Love all the images but the last two are absolutely stunning!
Thanks for the positive comment Harinder! I’m glad you enjoyed them!
Tom
You rock (as always!) That rino pic detail is absurdly awesome detail!
I also love the upside down orangutan.
Thanks Jason, I’m glad you enjoyed the images! The orangutan was lying on its back which created a very unusual angle for the last two photos.
Tom