Everyone has their own approach when they work with various software programs to do post processing of their RAW files. I don’t think there is a ‘right way’ or a ‘wrong way’ to process files. The process is one of individual choice based on the vision of the photographer.
Working with festive light images in post can sometimes be a fun exercise! This article shares some of the things that I did with some images featured in a recent article. I certainly do not profess to be an expert with any given software program and my post processing approach is likely a bit unorthodox.
The intent of the article is to convey what I was trying to accomplish with various adjustments, as opposed to featuring any particular software program. Most photo software does much of the same types of things so you may have differently named adjustments in your preferred program.
I shoot exclusively with Nikon 1 gear which has a small 1″ CX sensor so I am often quite aggressive with my RAW files. Depending on the camera you use your approach may be a lot more subtle to achieve the results you want.
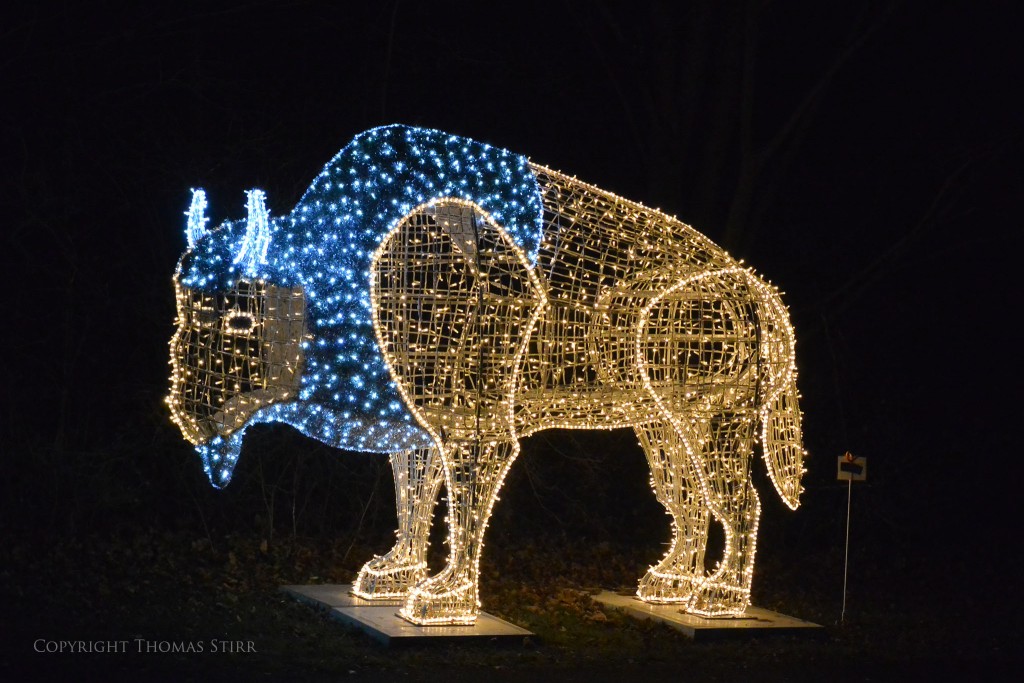
To put this article in context, the sample image used was shot with a Nikon 1 V2 with a 1 Nikon 10-100 mm f/4.5-5.6 PD zoom lens @ 34mm, efov 90 mm, f/5.6, 1/60, ISO-1800. As a point of reference here is an out-of-camera jpeg.
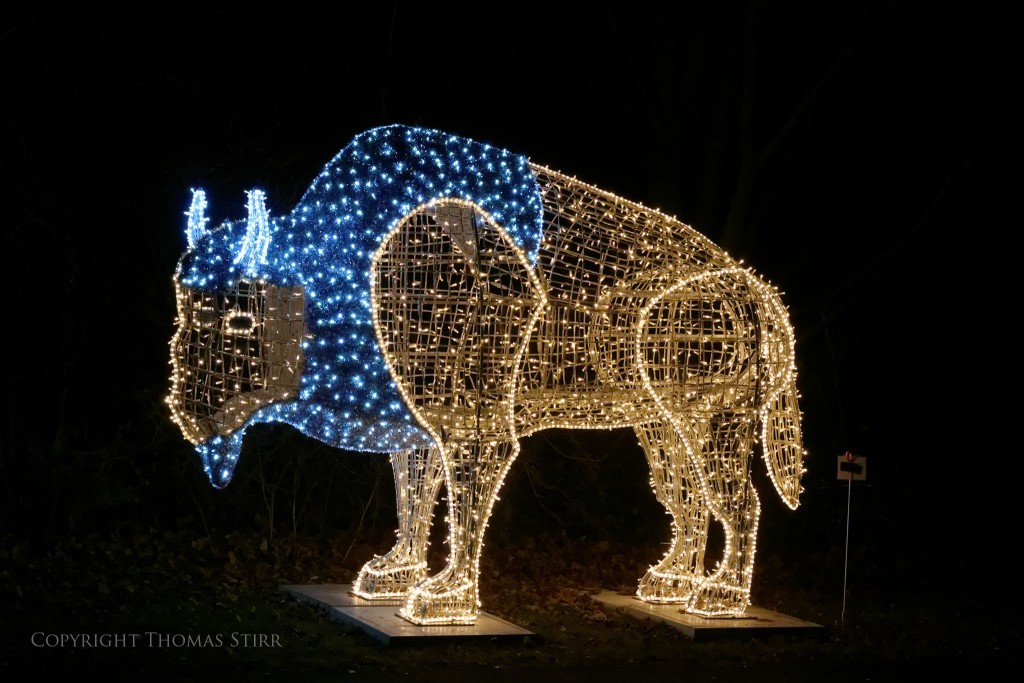
The first thing that I do is run my RAW files through DxO OpticsPro 10 so that all of the automatic lens corrections etc. can be done. Rather than show you an image with a lot of OpticsPro 10 adjustments done to it, the following image is a jpeg produced after OpticsPro 10 did its standard adjustments. These are based on the camera body and lens used to take the image.
NOTE: Click on images to enlarge.
When working with an image like this one my inclination is to create as much contrast as I can with the image in order to have the lights ‘pop’. While keeping that in mind, I also want to deal with the distracting details underneath the light statue as well trying to minimize the ‘glow’ emanating from many of the lights.
The image above was exported from OpticsPro 10 after I took highlights to -20, black to -20, contrast to +5, micro-contrast to +10, applied PRIME noise reduction, and then moved Global lens softness setting to 1.20 and Details to 70.
My basic intent with those adjustments was to sharpen up the image, accentuate the contrast in it, try to begin to minimize some of the glow from the lights, and deal with noise. At this point I would typically export to CS6 by way of a DNG file.
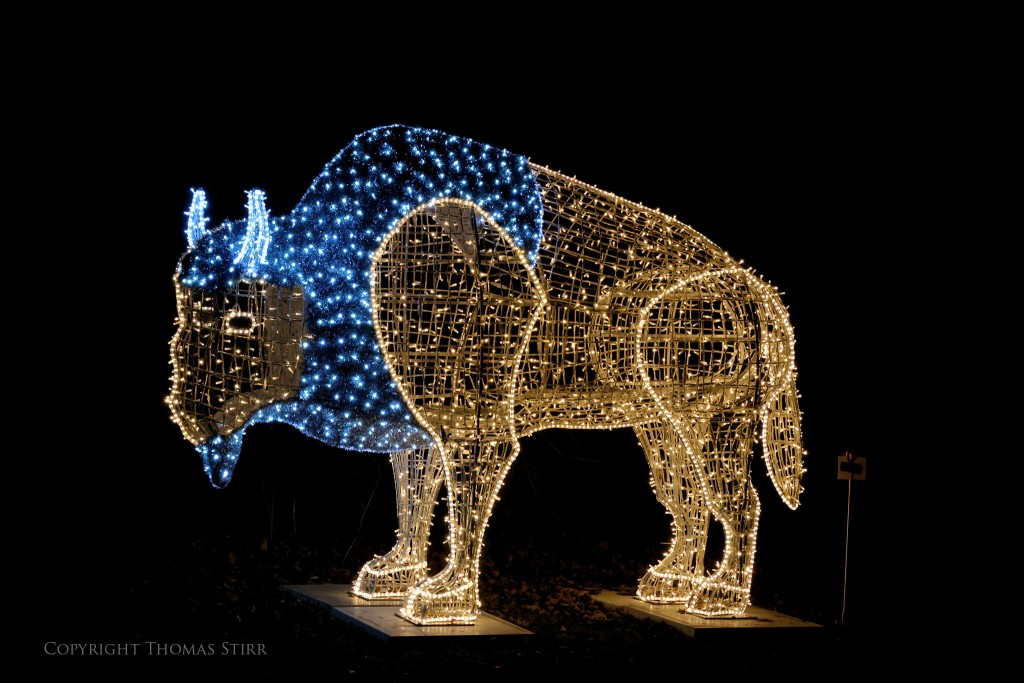
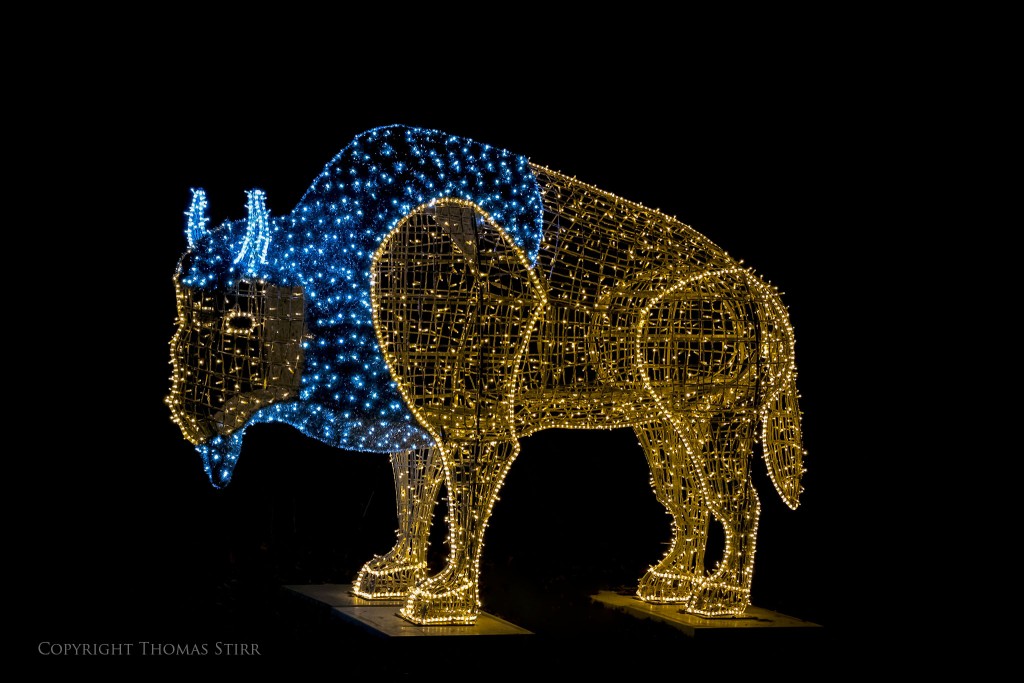
With the version of the image above I took contrast to +10, Highlights to -40, Whites to +50 and Blacks to -40 in CS6. This was done to create very high contrast, bring out the lights a bit, and kill the background as much as possible at this stage.
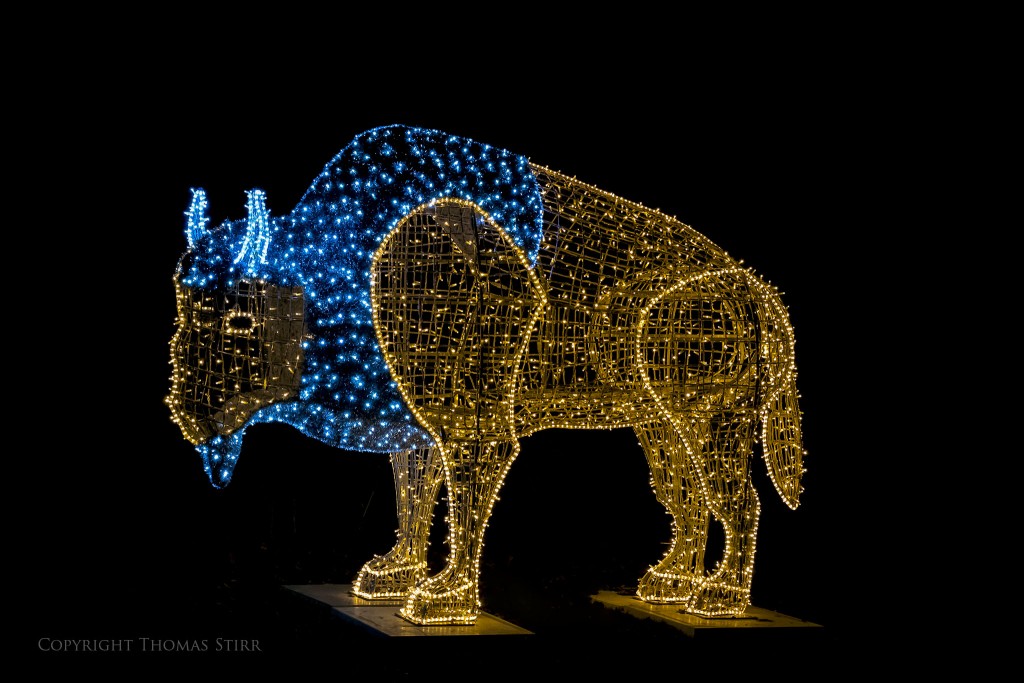
While I don’t usually use the spot healing tool in CS6 I often apply it when working with festive light images. In this case I used it to eliminate small areas of light on the ground that still remained in the image, and I removed a distracting element (the small sign at the rear of the light statue) as you can see in the version above.
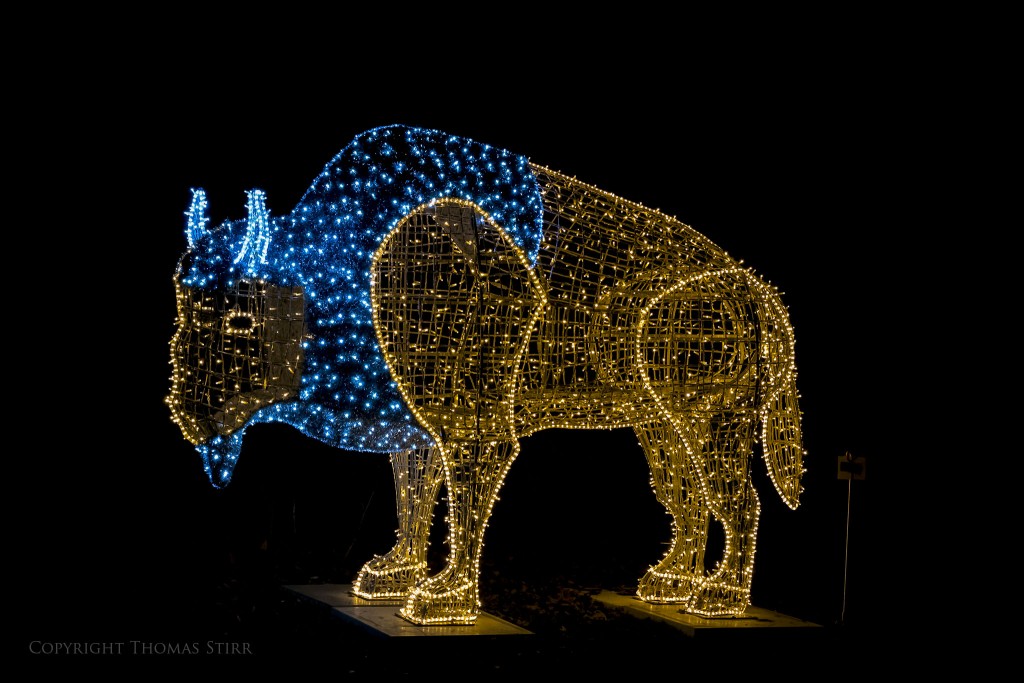
I occasionally will take an image into Nik Suite to make some final adjustments. In the case of the image below I did some minor adjustments in Viveza 2. I took Contrast to +10, Structure to +20 and Shadows to +10. This helped to bring back a bit of brightness to the image and helped create more definition with the lights.
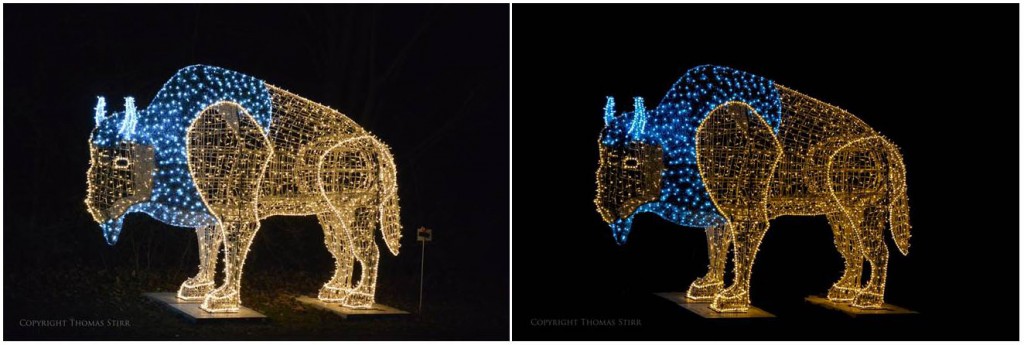
Here is a comparison of the original out-of-camera jpeg and the final, finished version done from the RAW file.
All of the adjustments noted in this article took less than 7 minutes to do. It would have been less if I hadn’t used the spot healing tool.
When working with any image in post I think the key thing is to have a clear vision in your mind of how you want the finished image to look. How each of us arrives at that end point really doesn’t matter at all…as long as we accomplish our goal with an image.
My intent is to keep this photography blog advertising free. If you enjoyed this article and/or my website and would like to make a modest $10 donation through PayPal to support my work it would be most appreciated. You can use the Donate button below. Larger donations can be made to tom@tomstirr.com through PayPal.
Article and all images Copyright Thomas Stirr. All rights reserved. No use, duplication of any kind, or adaptation is allowed without written consent.


Hi Tom,
Gorgeous pictures from a tiny sensor. One of my camera bodies is still an old V1. I use it mostly with the 18.5mm prime.
Your pictures shot in the dark at an incredible ISO 4500 show little to no noise. I cannot imagine what magic you are performing to eliminate high ISO noise from the tiny V1 sensor.
The V1 is great, because of its faster AF speed than any other mirrorless but I feel the only area it lacks is noise. Is there a way to make my images look better?
Hi Arindam Pal,
I use the PRIME noise reduction function in DxO OpticsPro 10. I find this does a terrific job on my Nikon 1 files…in fact I apply this to every one of my Nikon 1 files regardless of the ISO at which the image was captured.
Tom
Very informative article and a great final result. Thanks.
I’m glad you found the article useful Anders!
Tom
What might be interesting to see is the original NEF file (as a JPG) with zero adjustments in DxO, or any other programs (basically as the V2 might have produced by itself), along side the final product as shown at the end. This would allow a side-by-side comparison of what someone would have gotten if they did nothing, and what can be produced by just a little work (and, in your case, a lot of experience).
WEJ
Hello WEJ,
Thanks for the great idea! I have adjusted the article and created a comparison of the original out-of-camera jpeg next to the final version created from the RAW file.
Tom